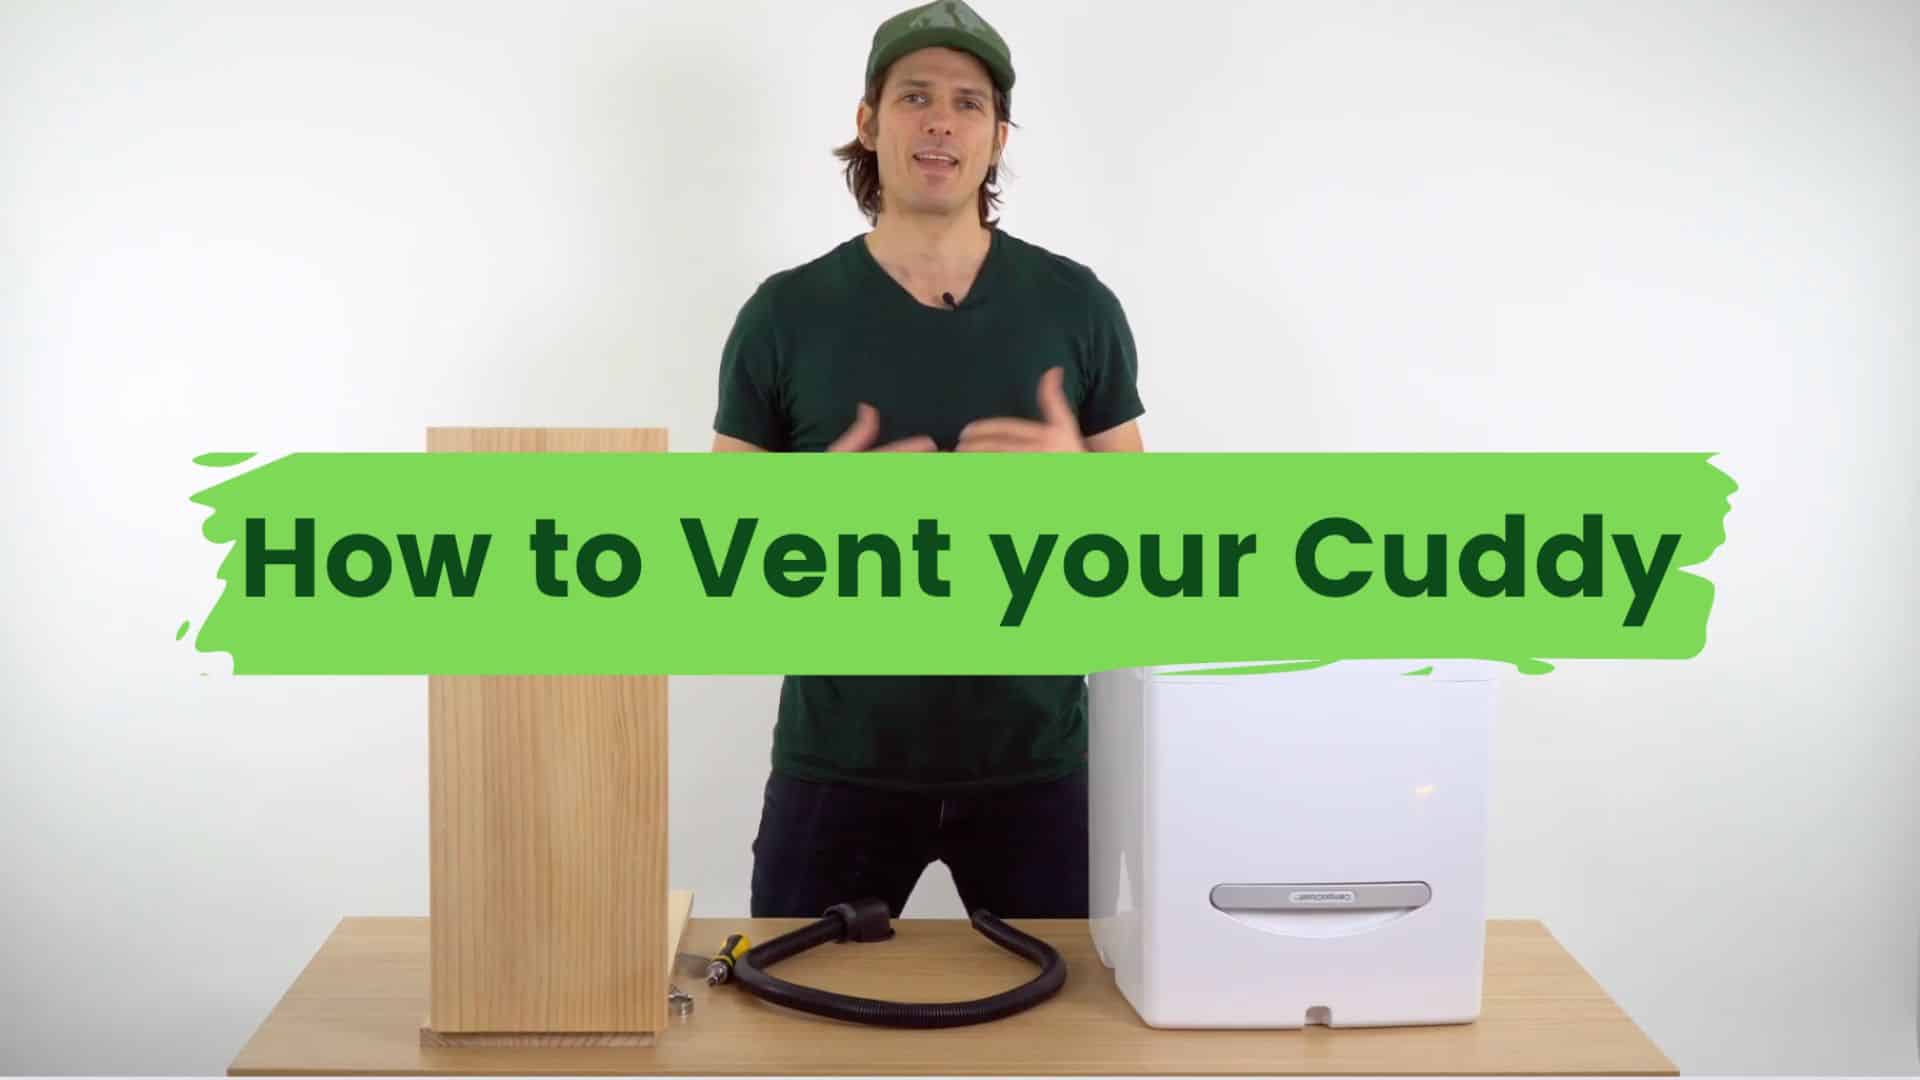
How to Externally Vent your Cuddy Composting Toilet
By Richard Peter
Small spaces require smart solutions – especially when it comes to the bathroom situation. Maintaining proper ventilation for your Cuddy is essential for a comfortable journey and odor-free adventures. In this post and corresponding video below, we will provide you with a step-by-step guide on how to externally vent your Cuddy. Not only will proper ventilation keep your van (or other small space) smelling fresh, but it’ll also ensure a pleasant travel experience for everyone. So, let's dive into the process!
Step 1: Prepare Your Cuddy
To begin the installation, open up your Cuddy and remove the liquid bottle, solids bin, and carbon filter. The carbon filter does a great job at averting any odors, but, for a longer-term solution, an external vent is a wonderful investment.
Step 2: Determine the Vent Diameter
The exhaust vent at the rear of your Cuddy has a specific diameter, which is approximately 0.865 inches or 21.971 millimeters. Knowing this measurement will help you choose the right hose for the installation.
Step 3: Select the Hose and Adapter
You have several options for the hose, such as a 22-millimeter corrugated hose or a 1-inch hose pipe. In this guide, we'll use a flexible 22-millimeter corrugated hose pipe and a Fliplock One adapter to attach it to the side of the van. Ensure that the hose and adapter are compatible and appropriate for your Cuddy's exhaust vent.
Step 4: Attach the Hose
Using a jubilee clip with a hexagonal head for easier access, attach the chosen hose securely to the exhaust vent of your Cuddy. Tighten the jubilee clip carefully, but avoiding over-tightening, as this could crush the exhaust pipe.
Step 5: Choose the Exhaust Vent Location
There are different options for exhaust vent placement, including going out through the floor, the side of the van, or up through the roof. Each option has its advantages, with going through the floor being one of the simplest and cleanest choices.
Step 5A: Floor Installation
If you choose to go through the floor, use a fly screen to prevent insects from entering the van. Drill a hole through the floor and insulation, place the fly screen over the hole, and secure it in place with silicon.
Step 5B: Wall Installation
For wall installation, drill a hole in the side of your van's interior. Attach the Fliplock One adapter to the wall, making sure it's secure. Insert the hose into the adapter's snap-in fitting for a sturdy connection. Seal the area with silicone sealant and install a cowling of your choice on the exterior of the van for a finished look.
And you’re done!
Proper ventilation is crucial for a comfortable and pleasant vanlife experience. By following our step-by-step "how to externally vent your Cuddy" guide, you can easily install an exhaust vent in your Cuddy, ensuring that unpleasant odors are efficiently expelled. With a well-ventilated Cuddy, you can enjoy your travels without any worries about unwanted smells. Happy travels, fellow adventurers!
Richard is the Co-Founder and CEO of Compocloset, and the mastermind behind the Cuddy Composting toilet.
After a career algorithmic trading, he had plans to follow his long held passion for AI but the pandemic brought about an unexpected twist.
After installing a composting toilet in his campervan he caught the sanitation bug (not the dysentry kind) and saw an opportunity to change the world for the better and help bring safe sanitation to the 2.6 Billion without it.
He's now on a mission to make the best off-grid toilet possible both for you and the planet!