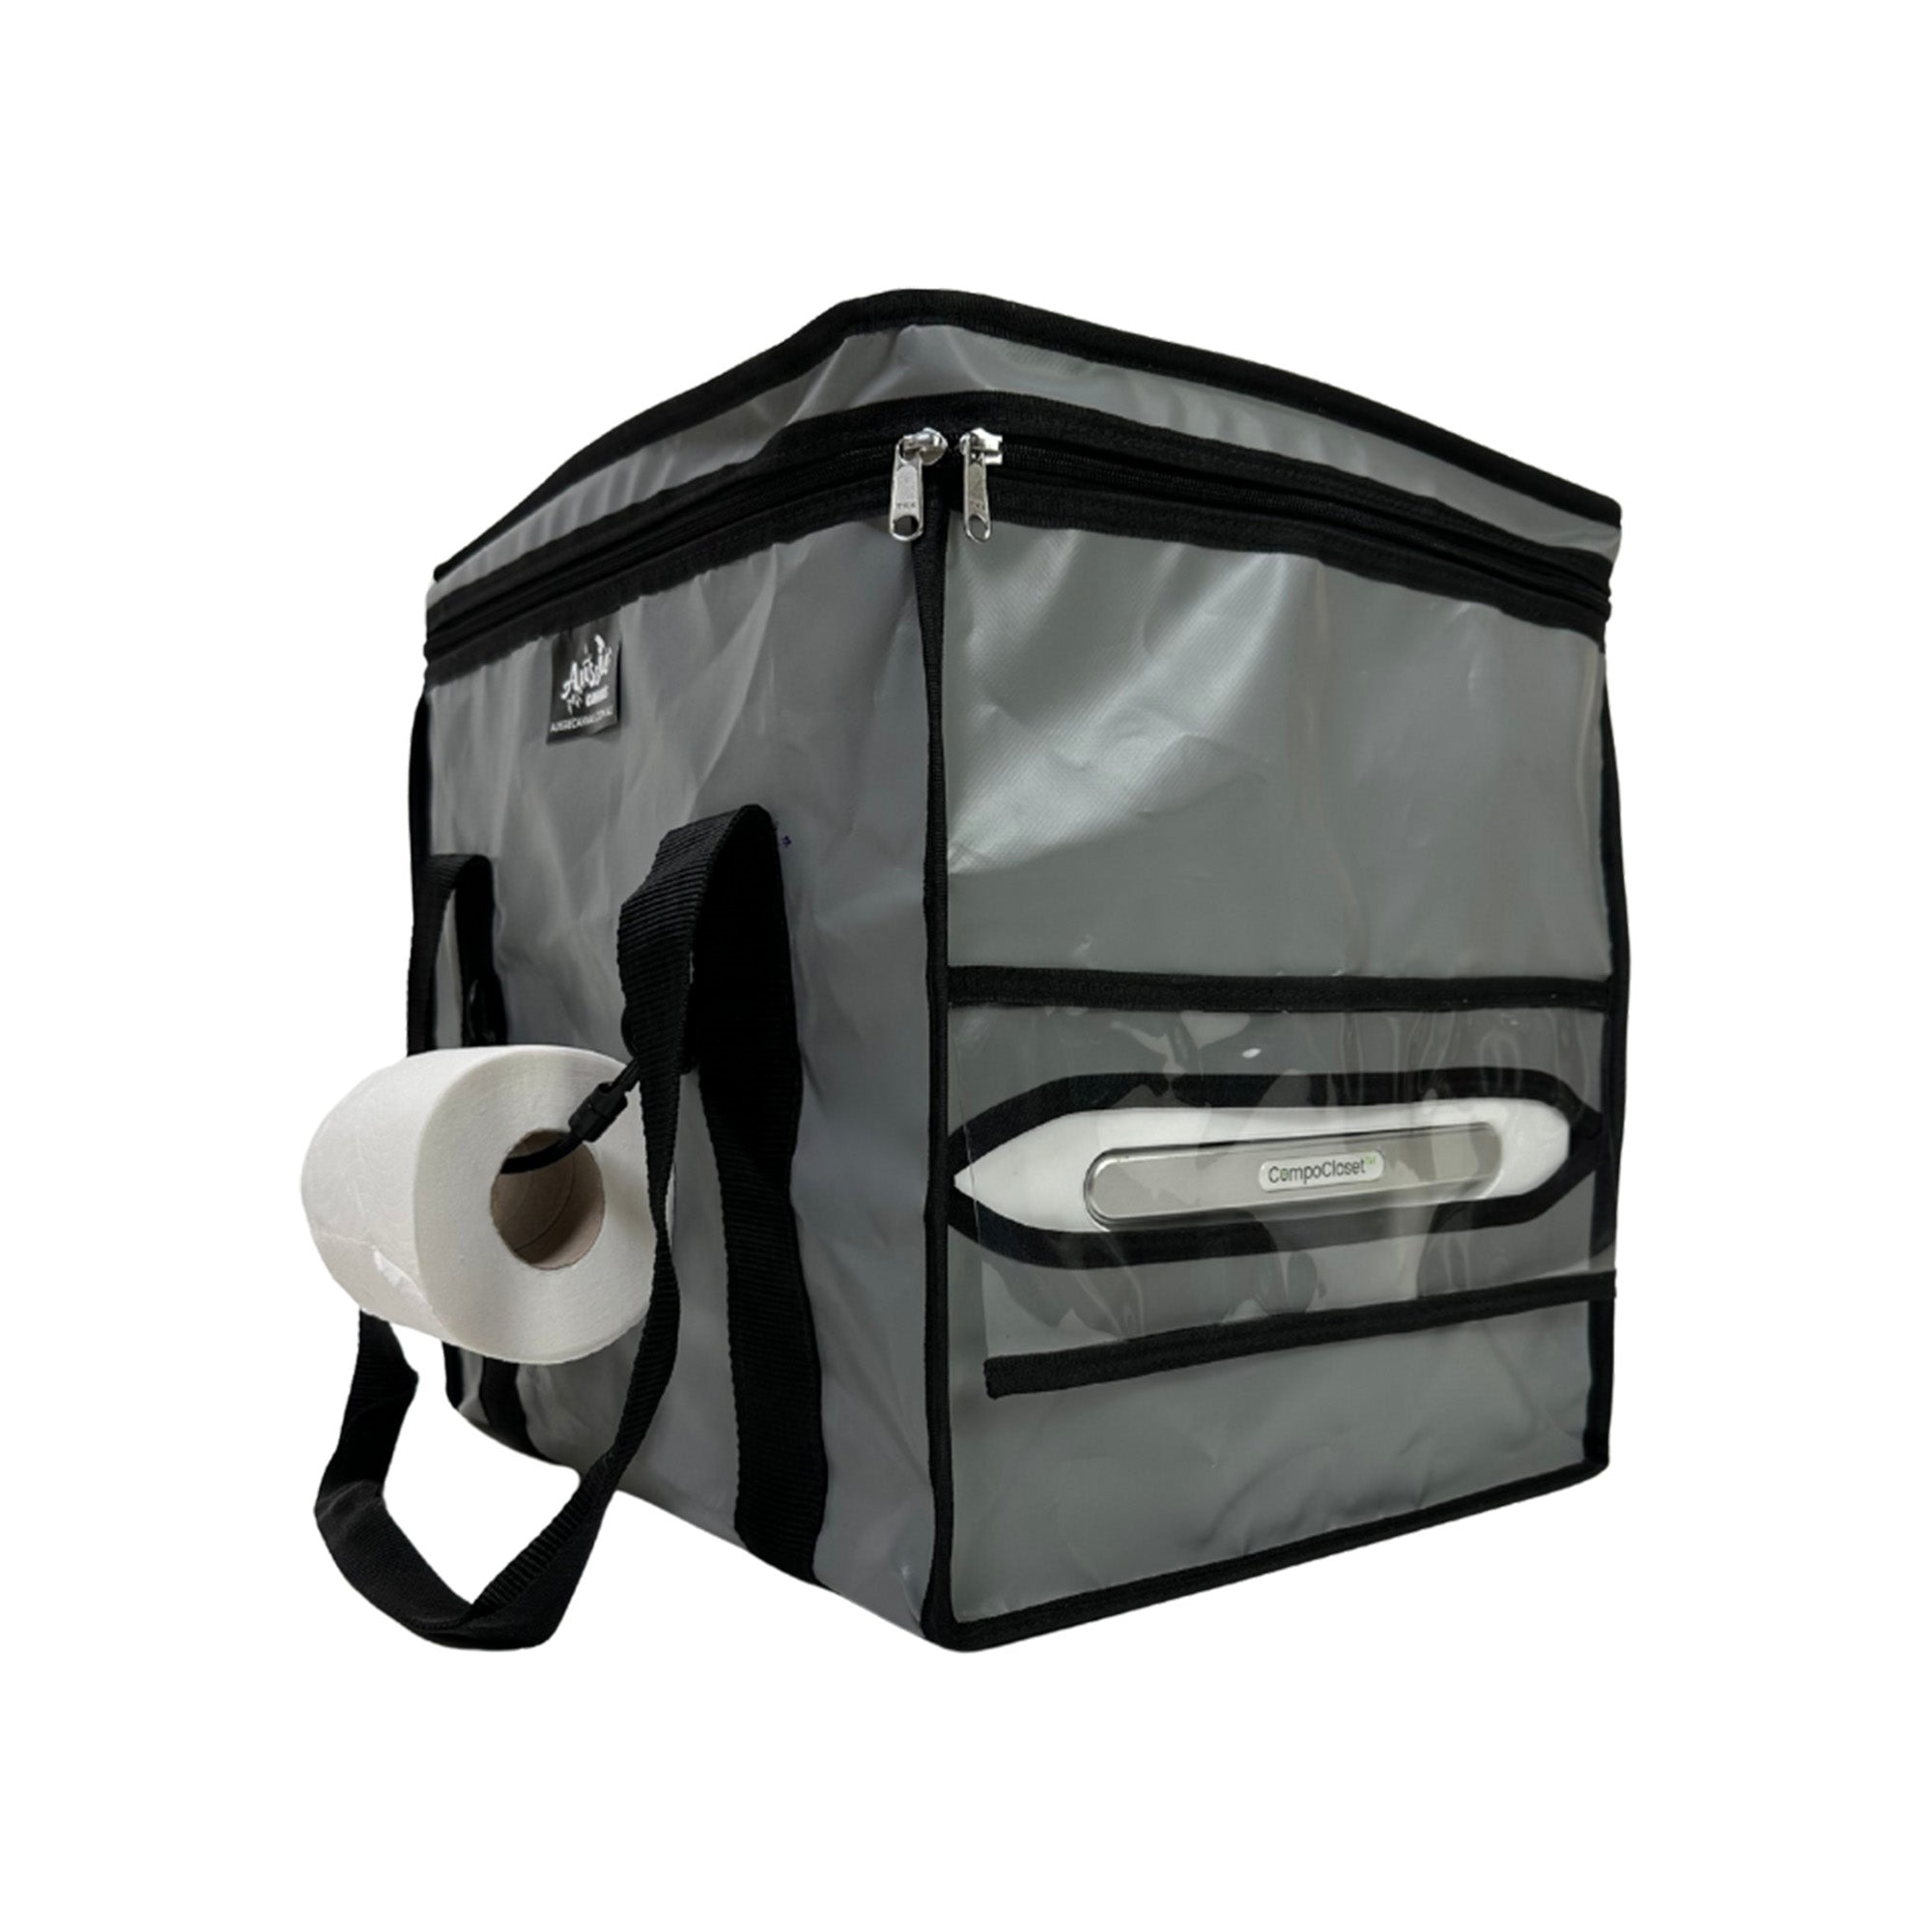
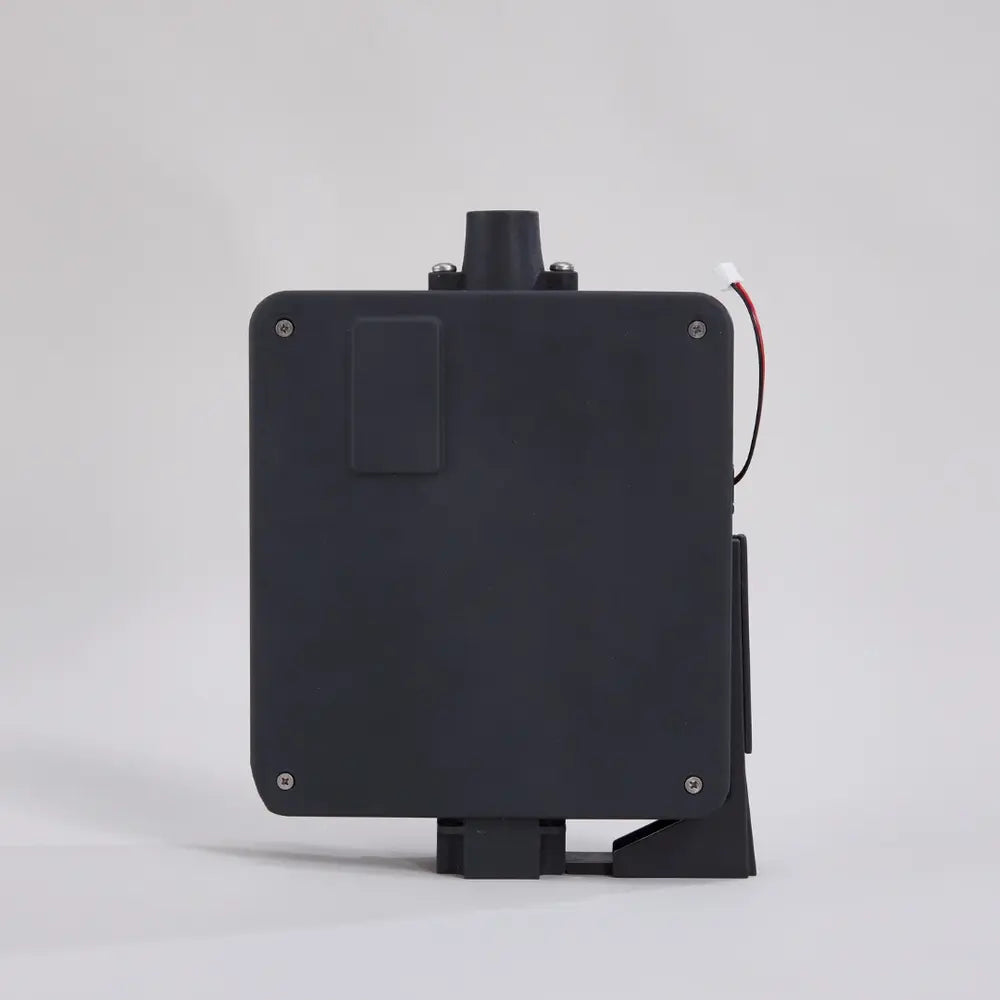
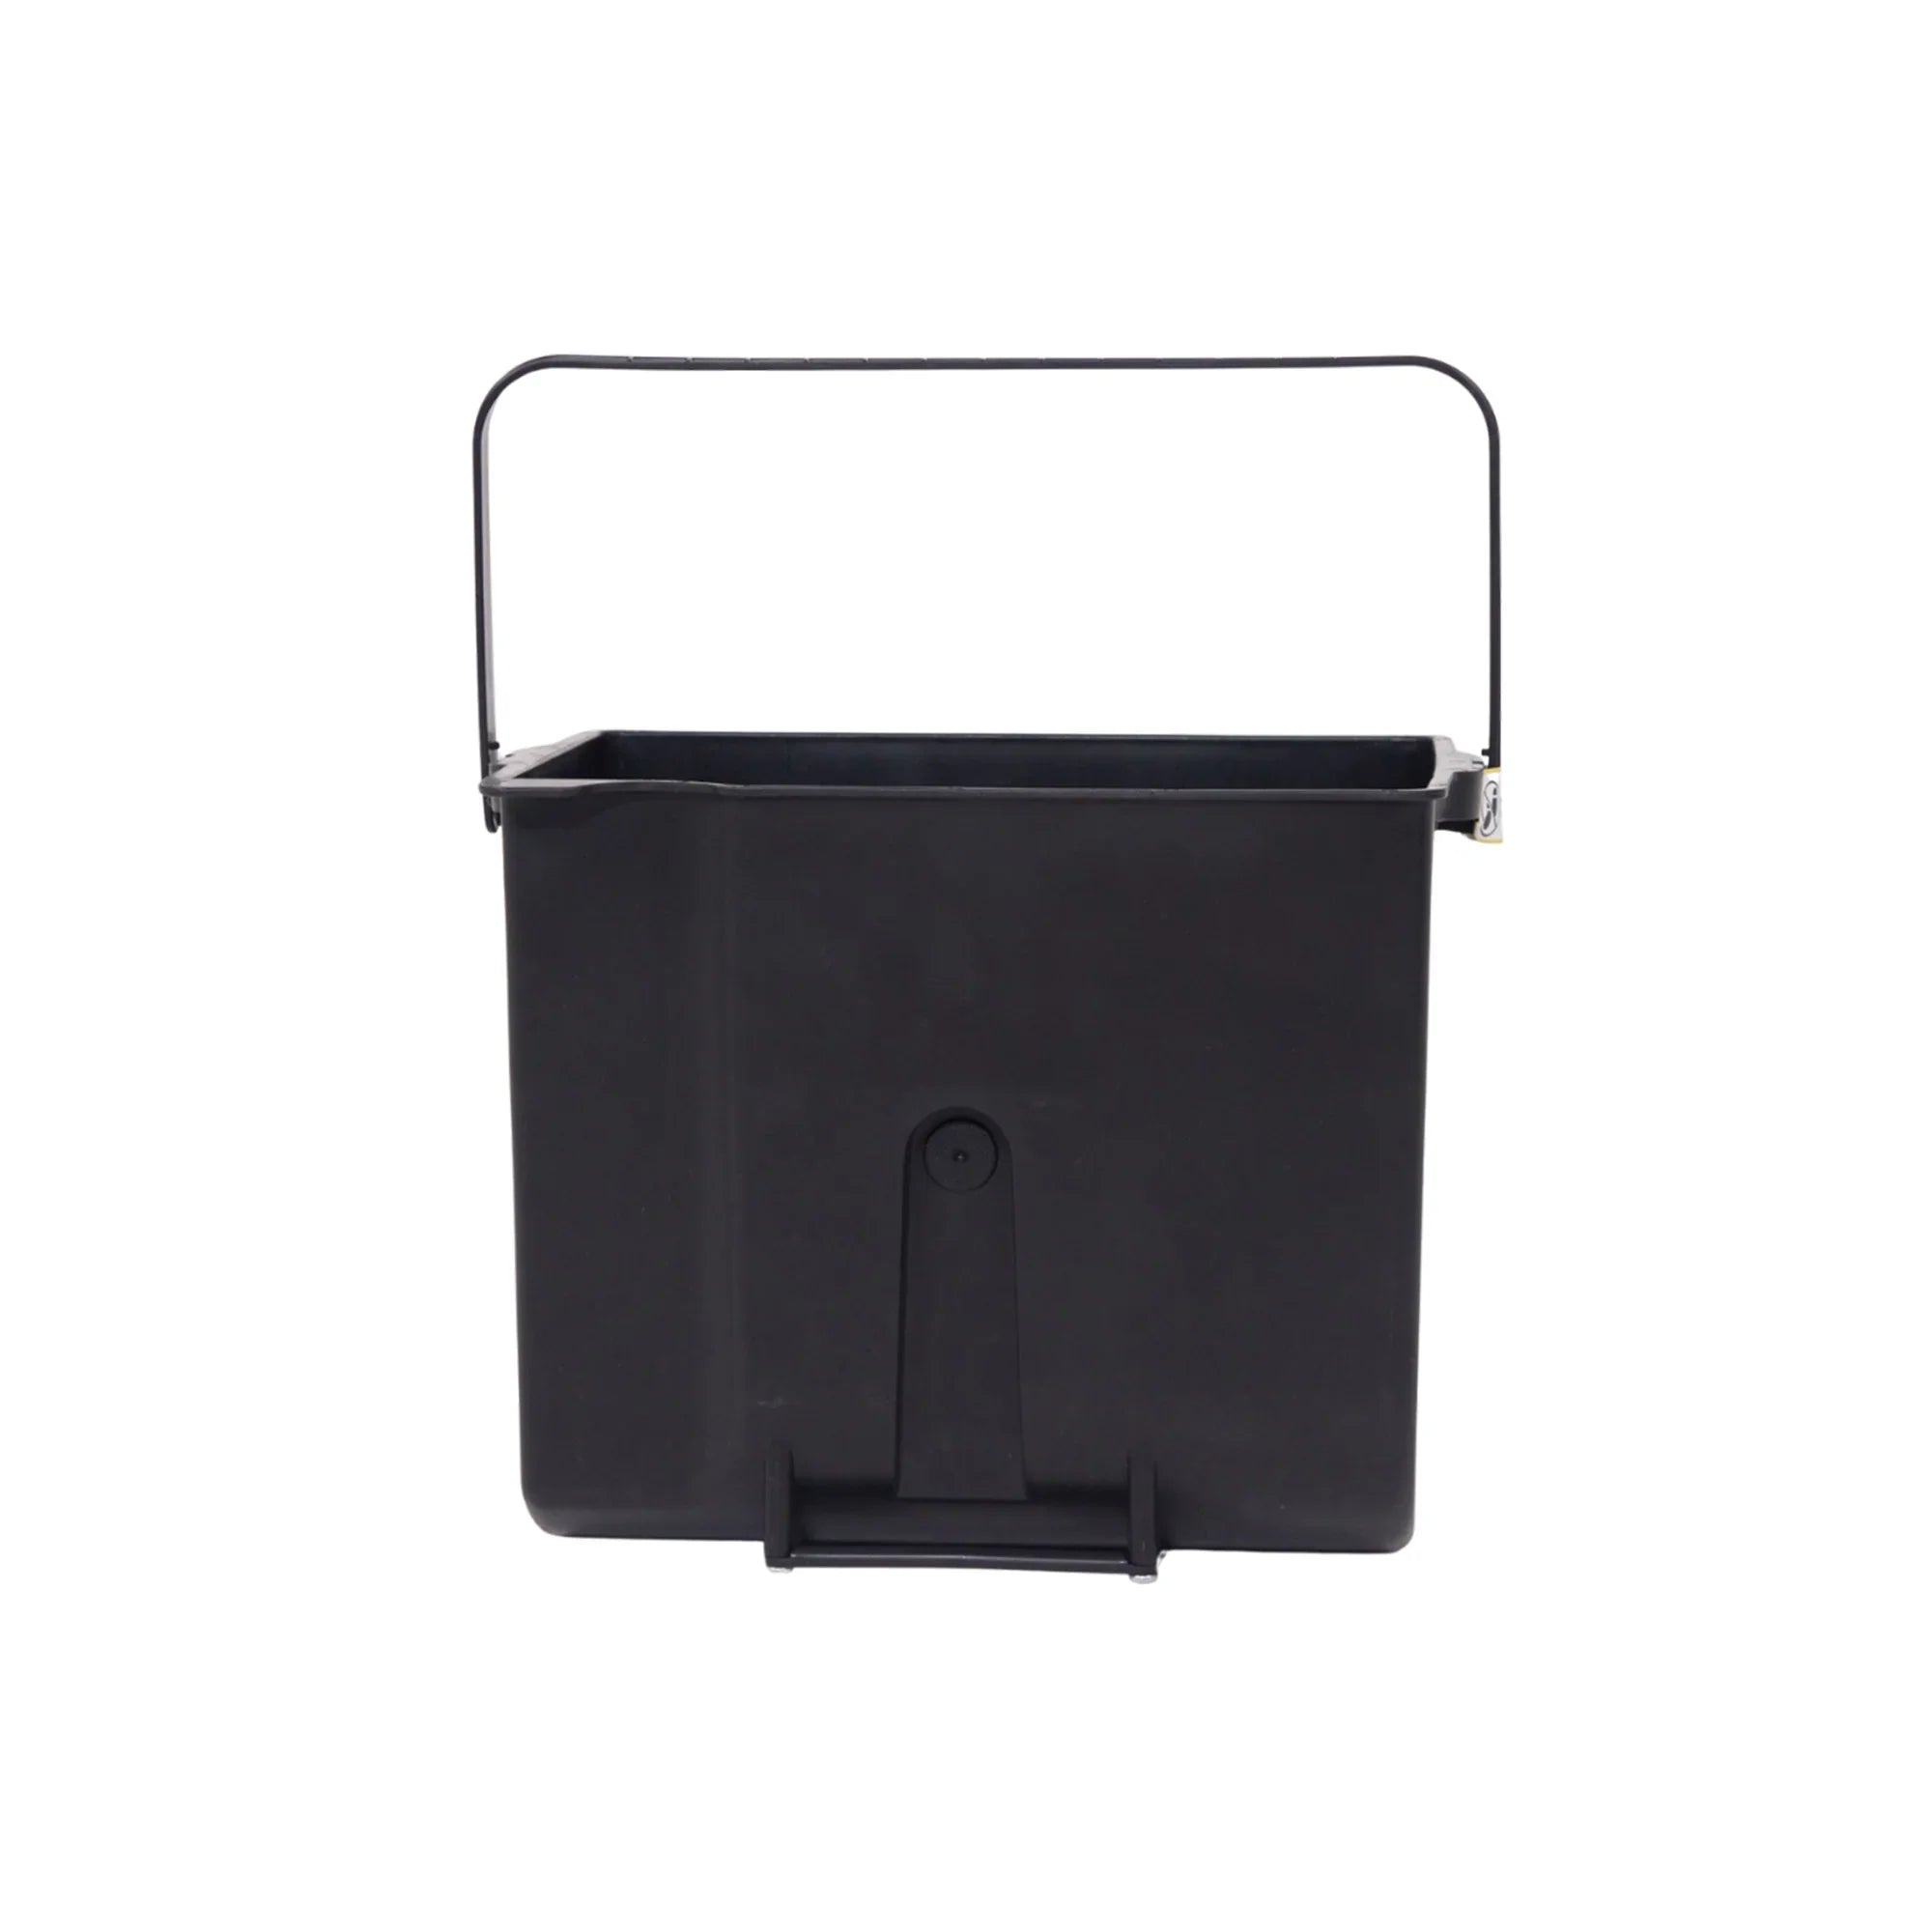
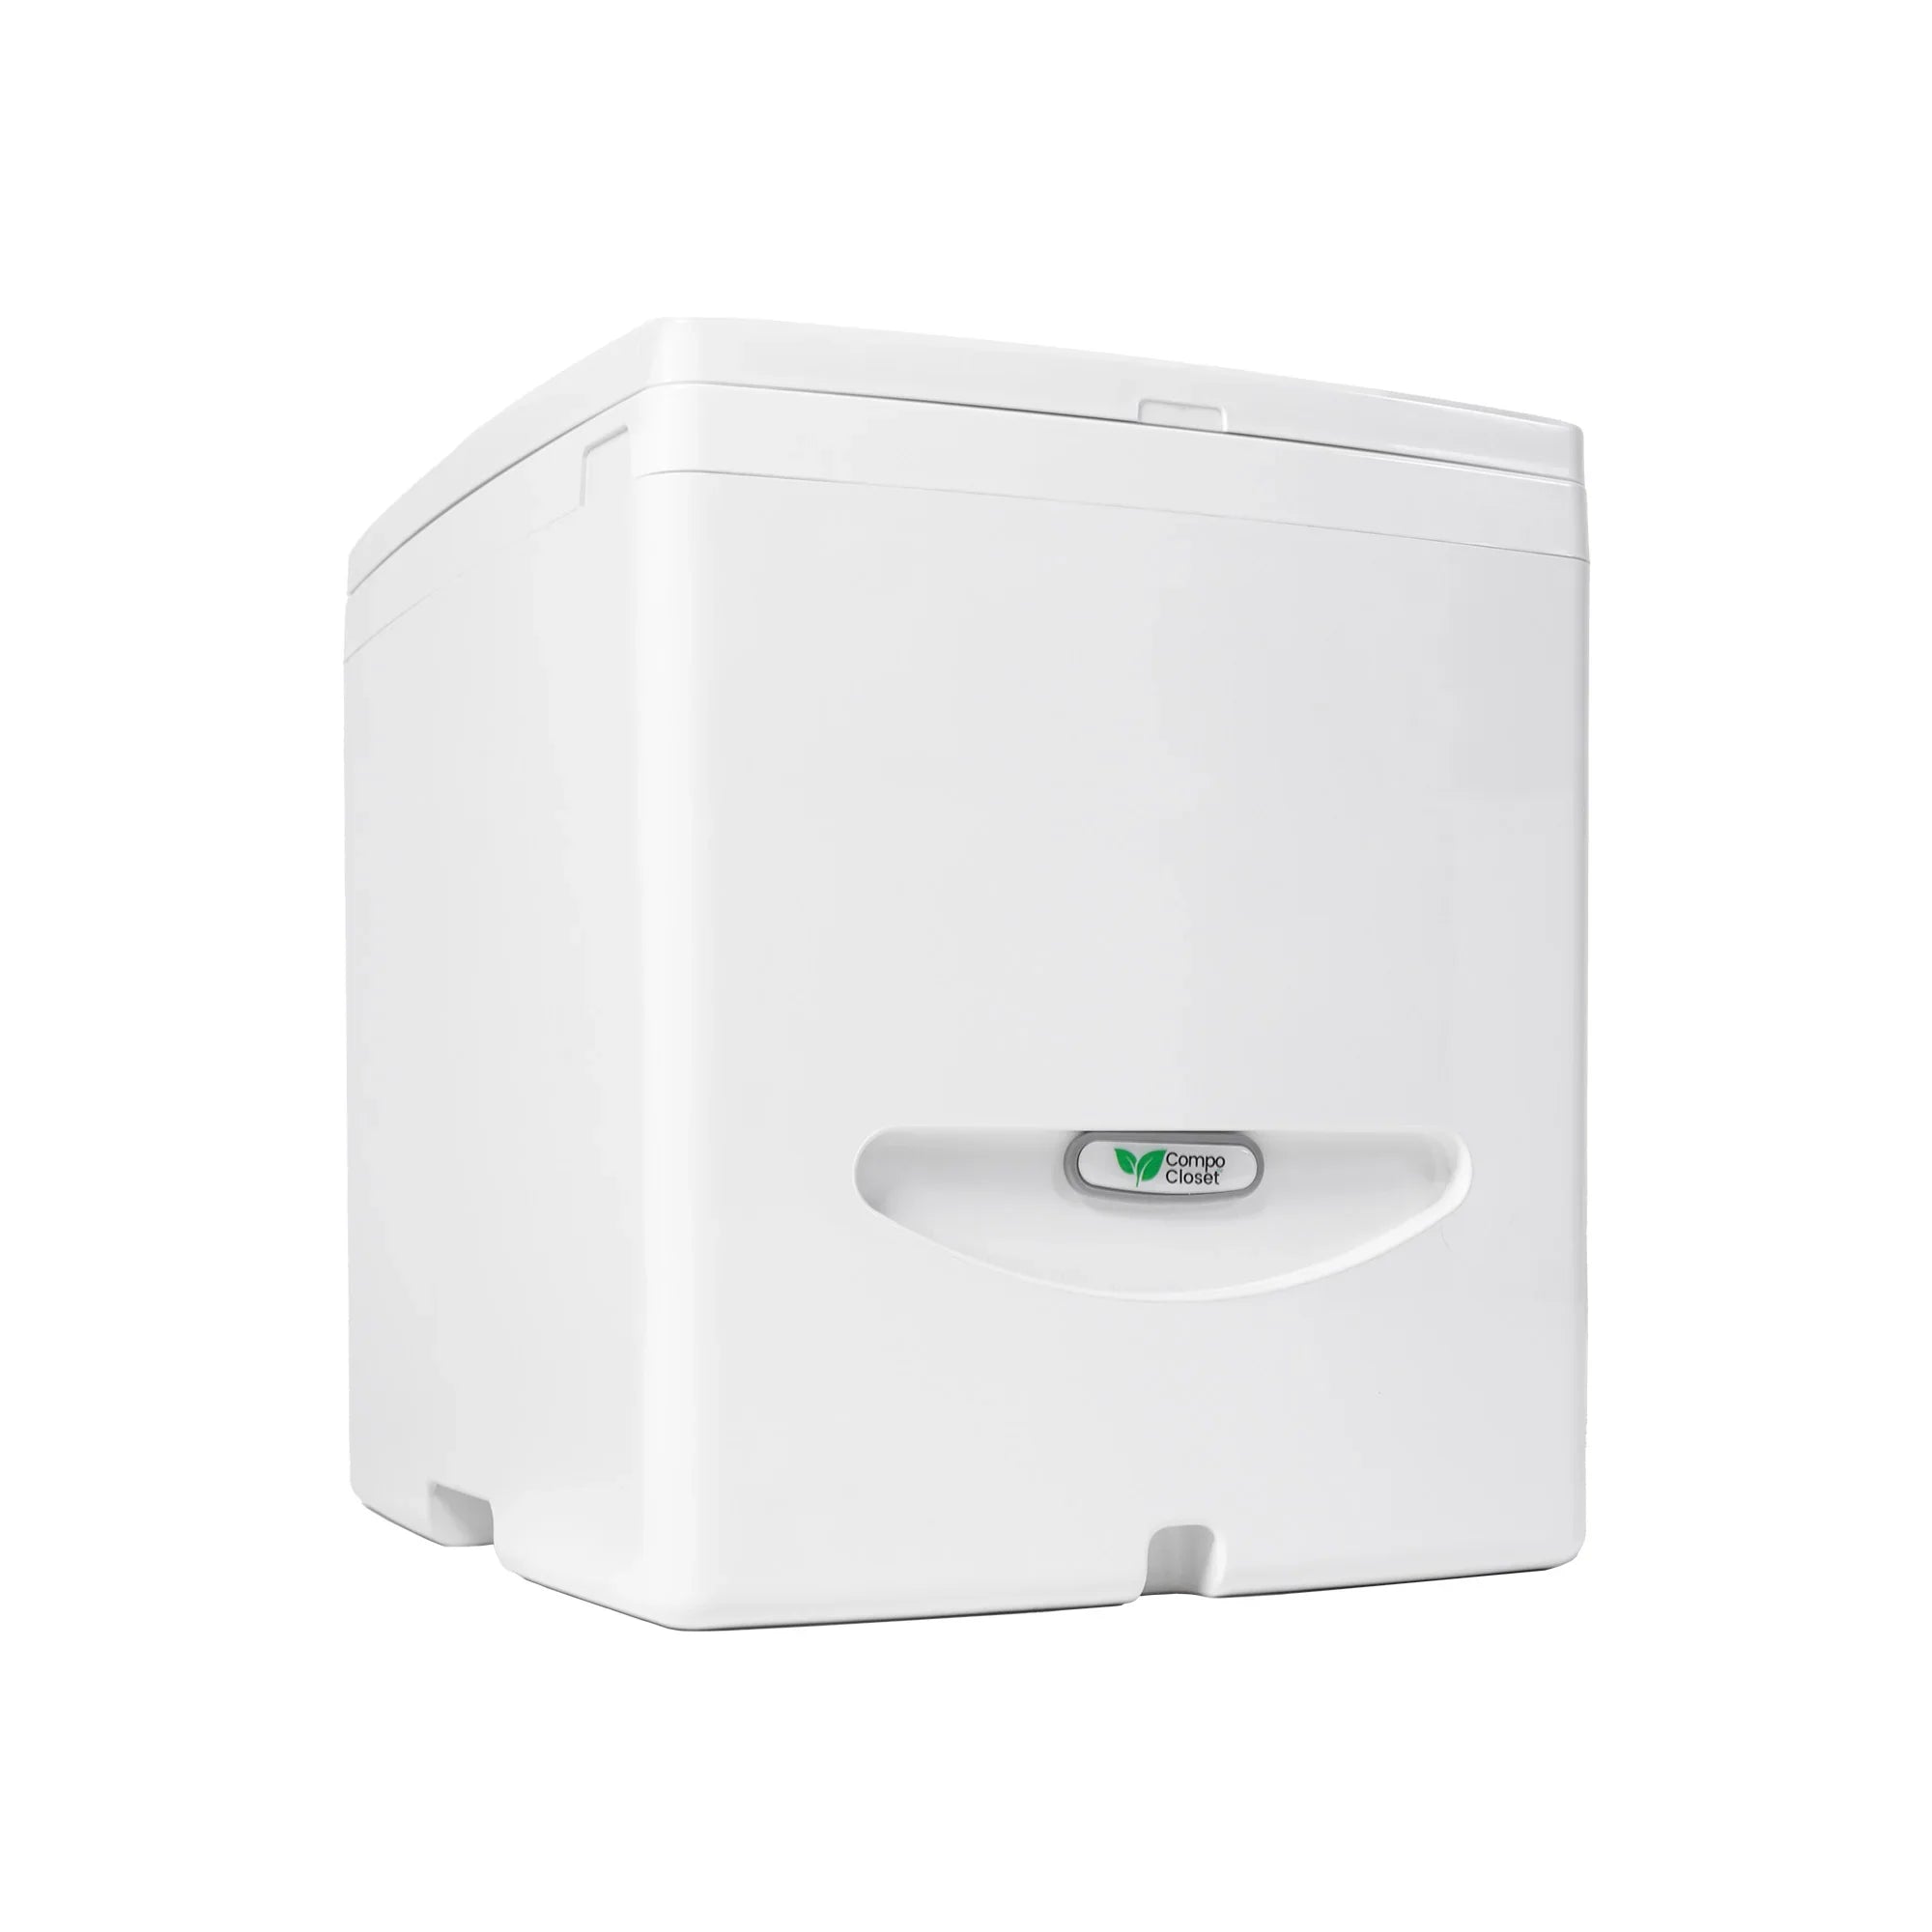
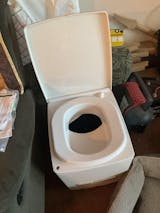
Cuddy Composting Toilet
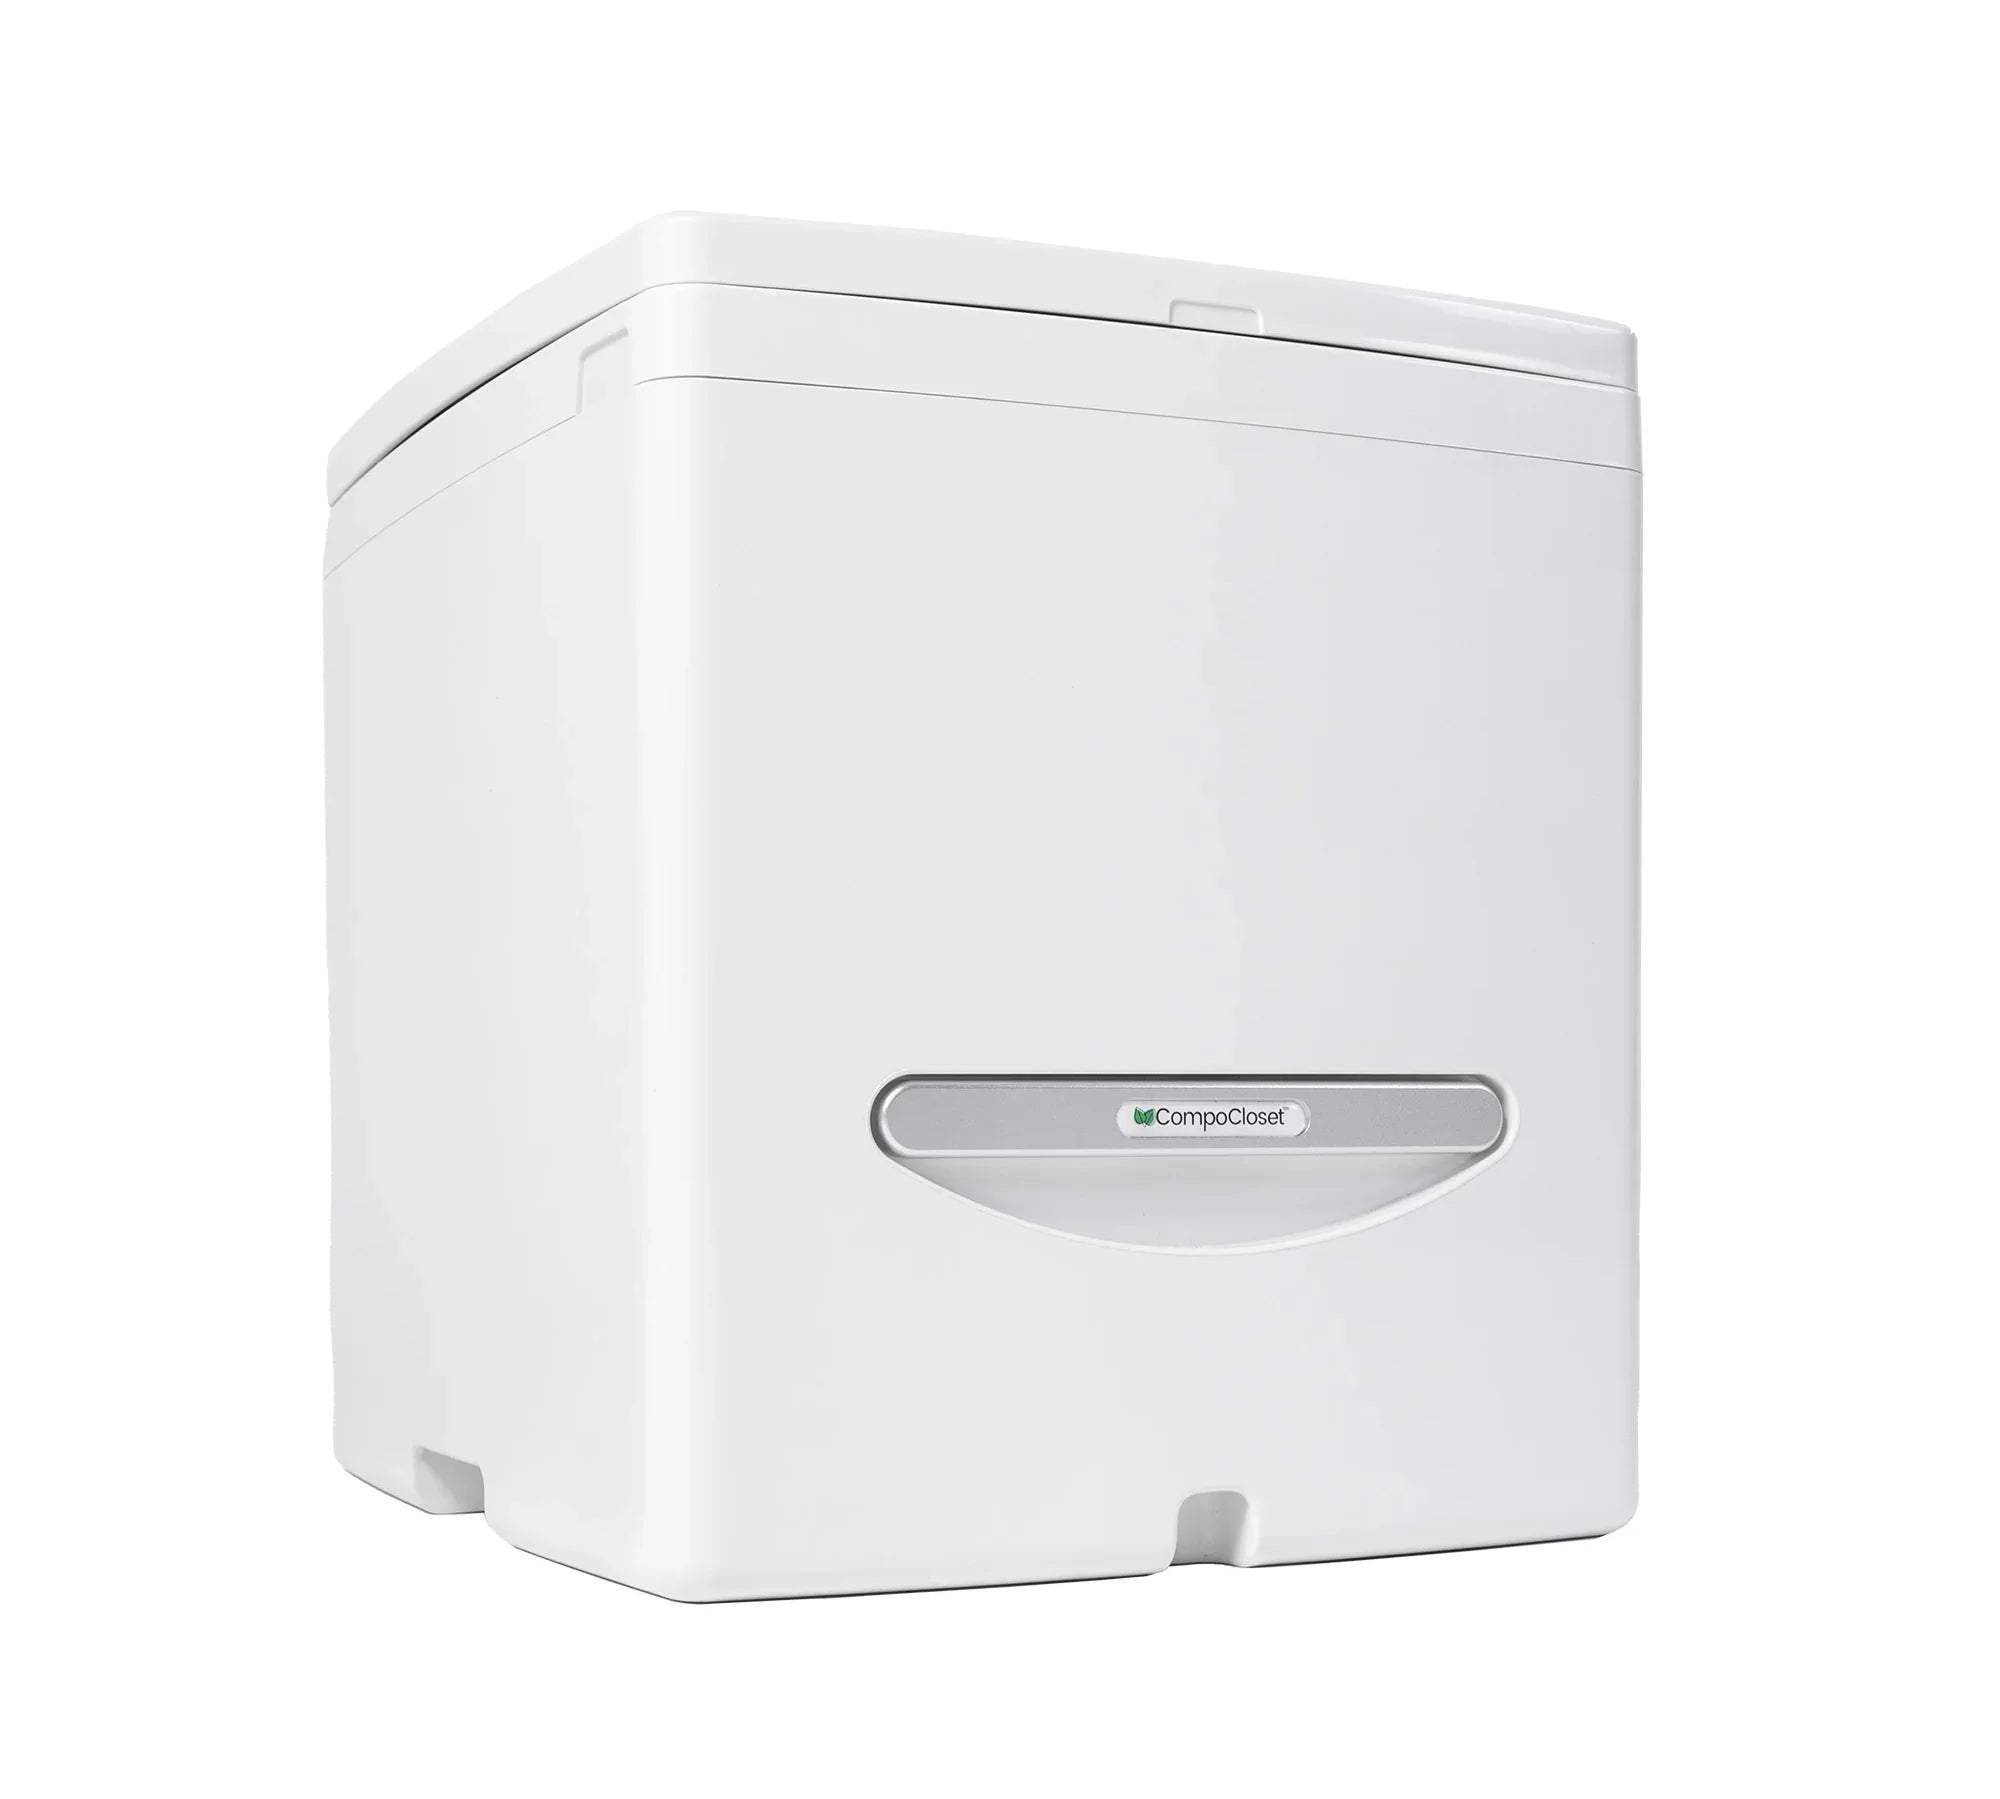
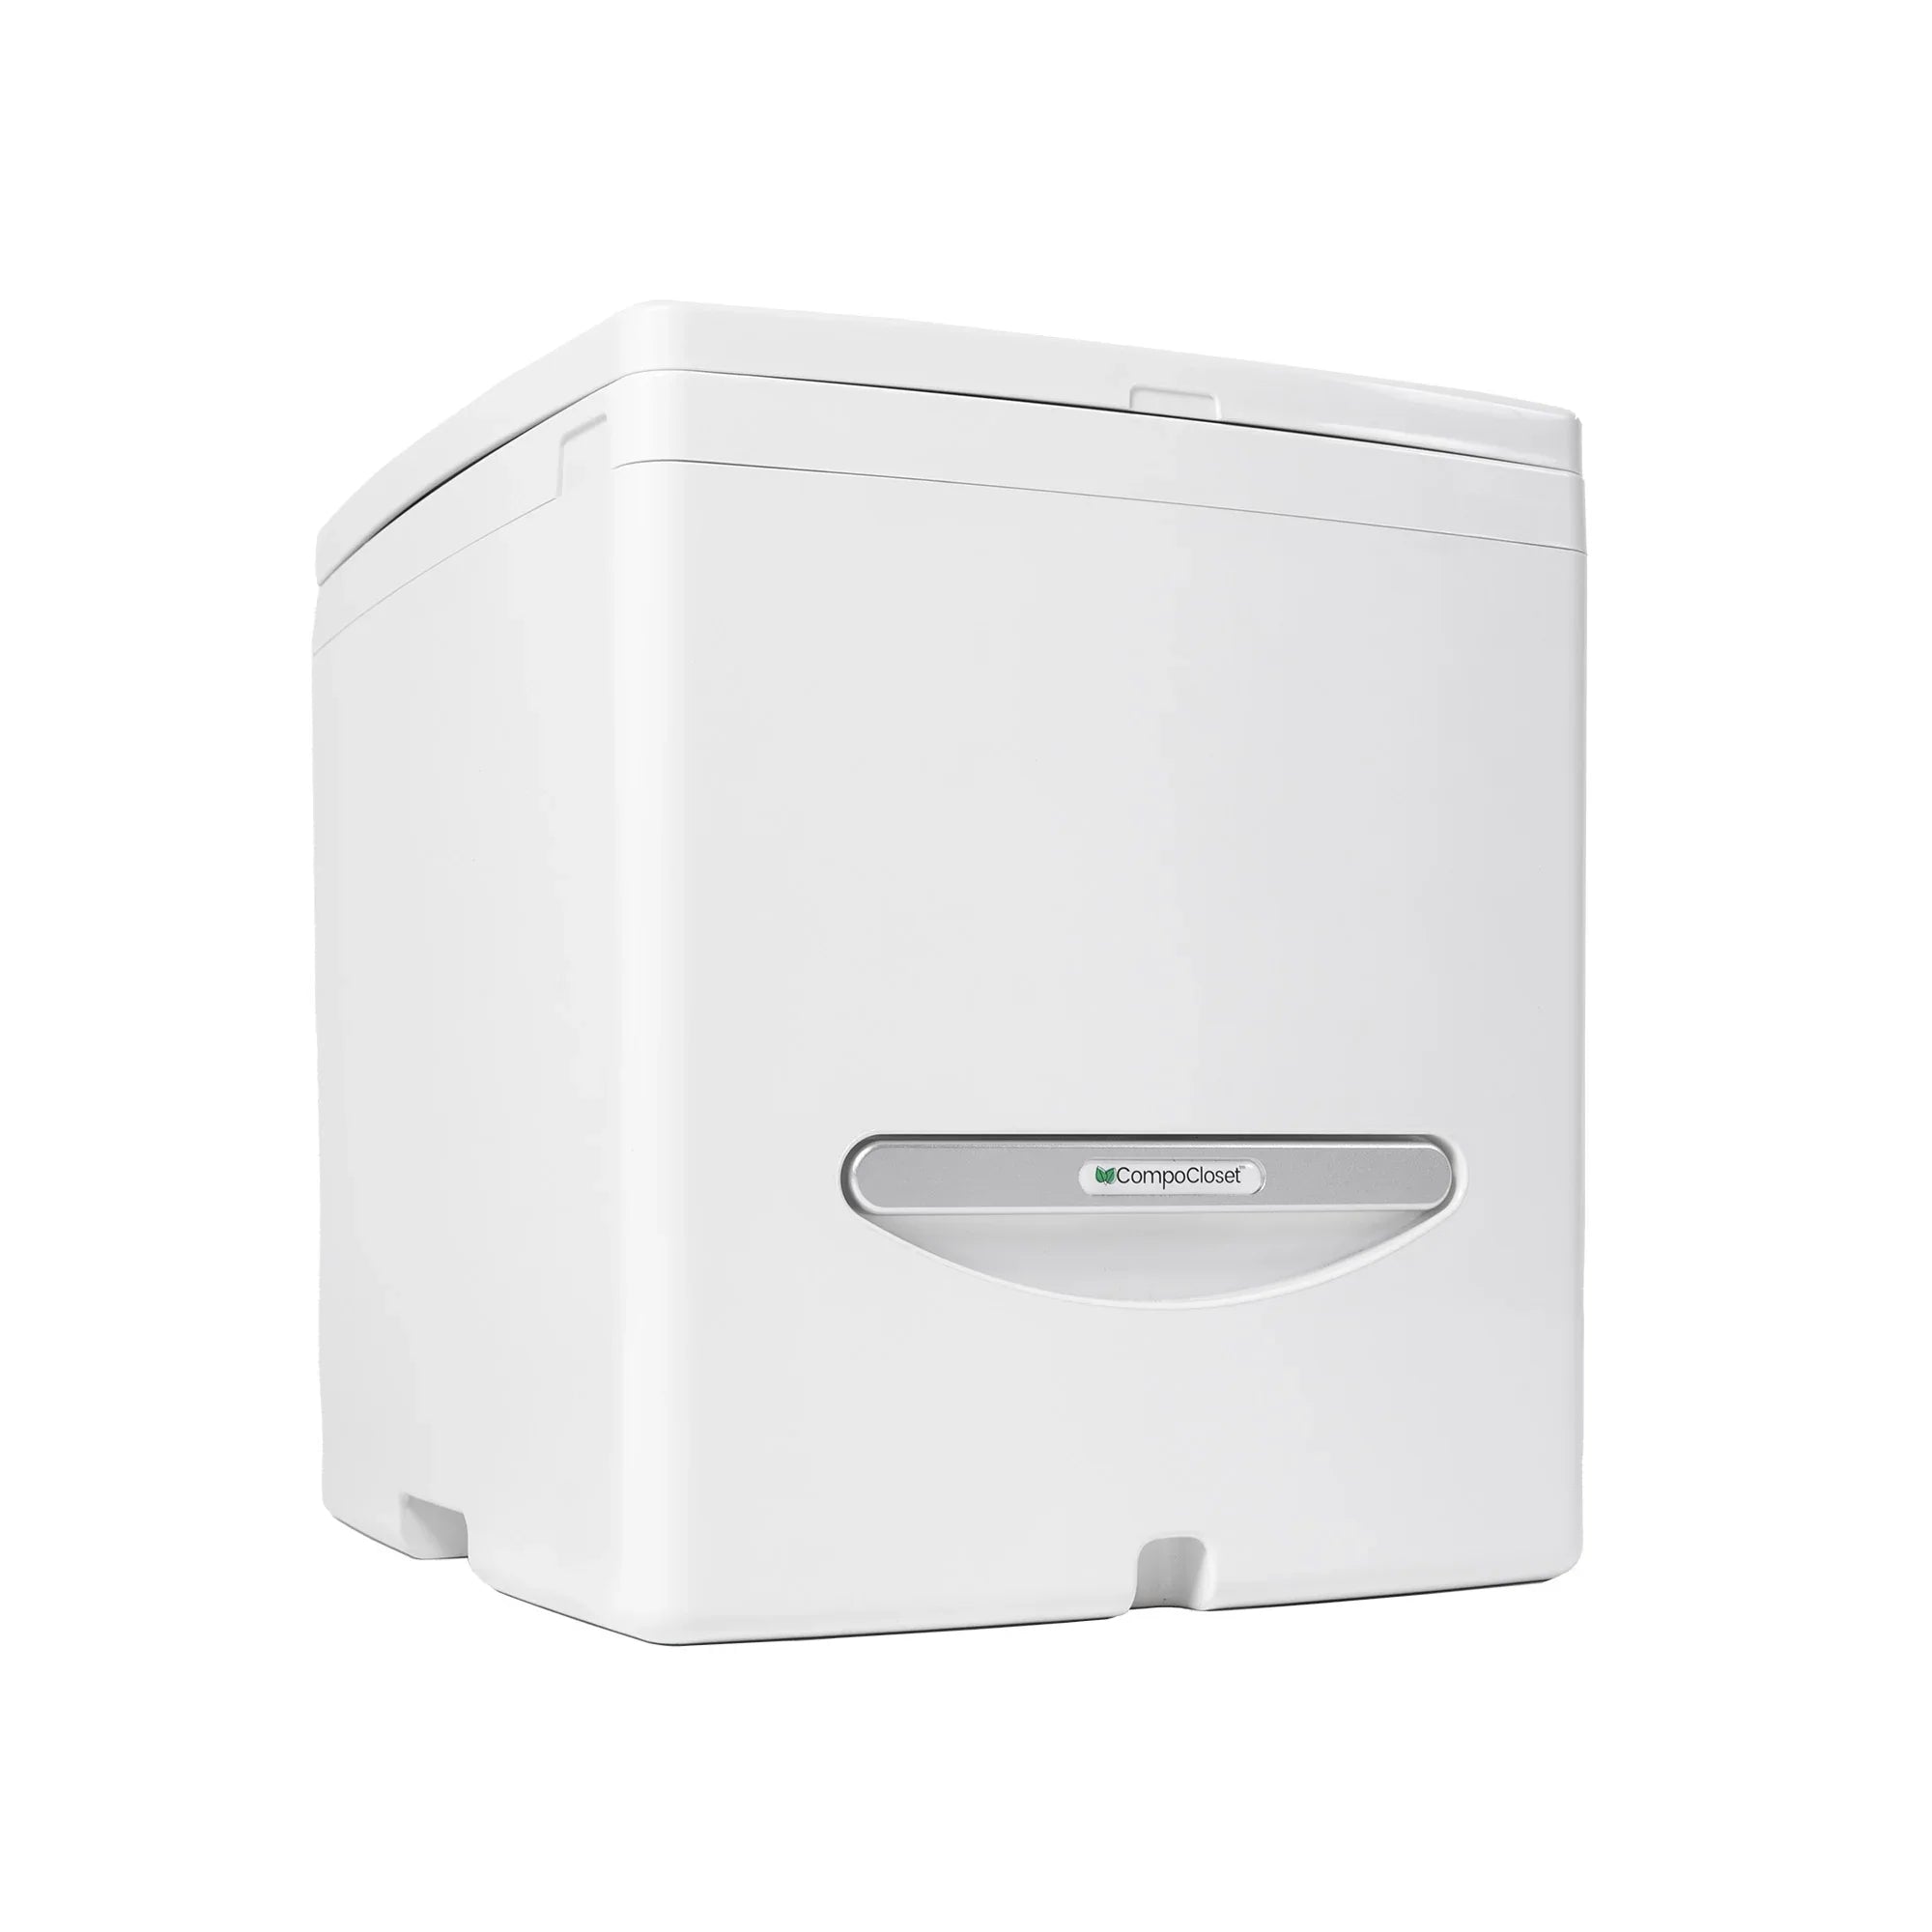
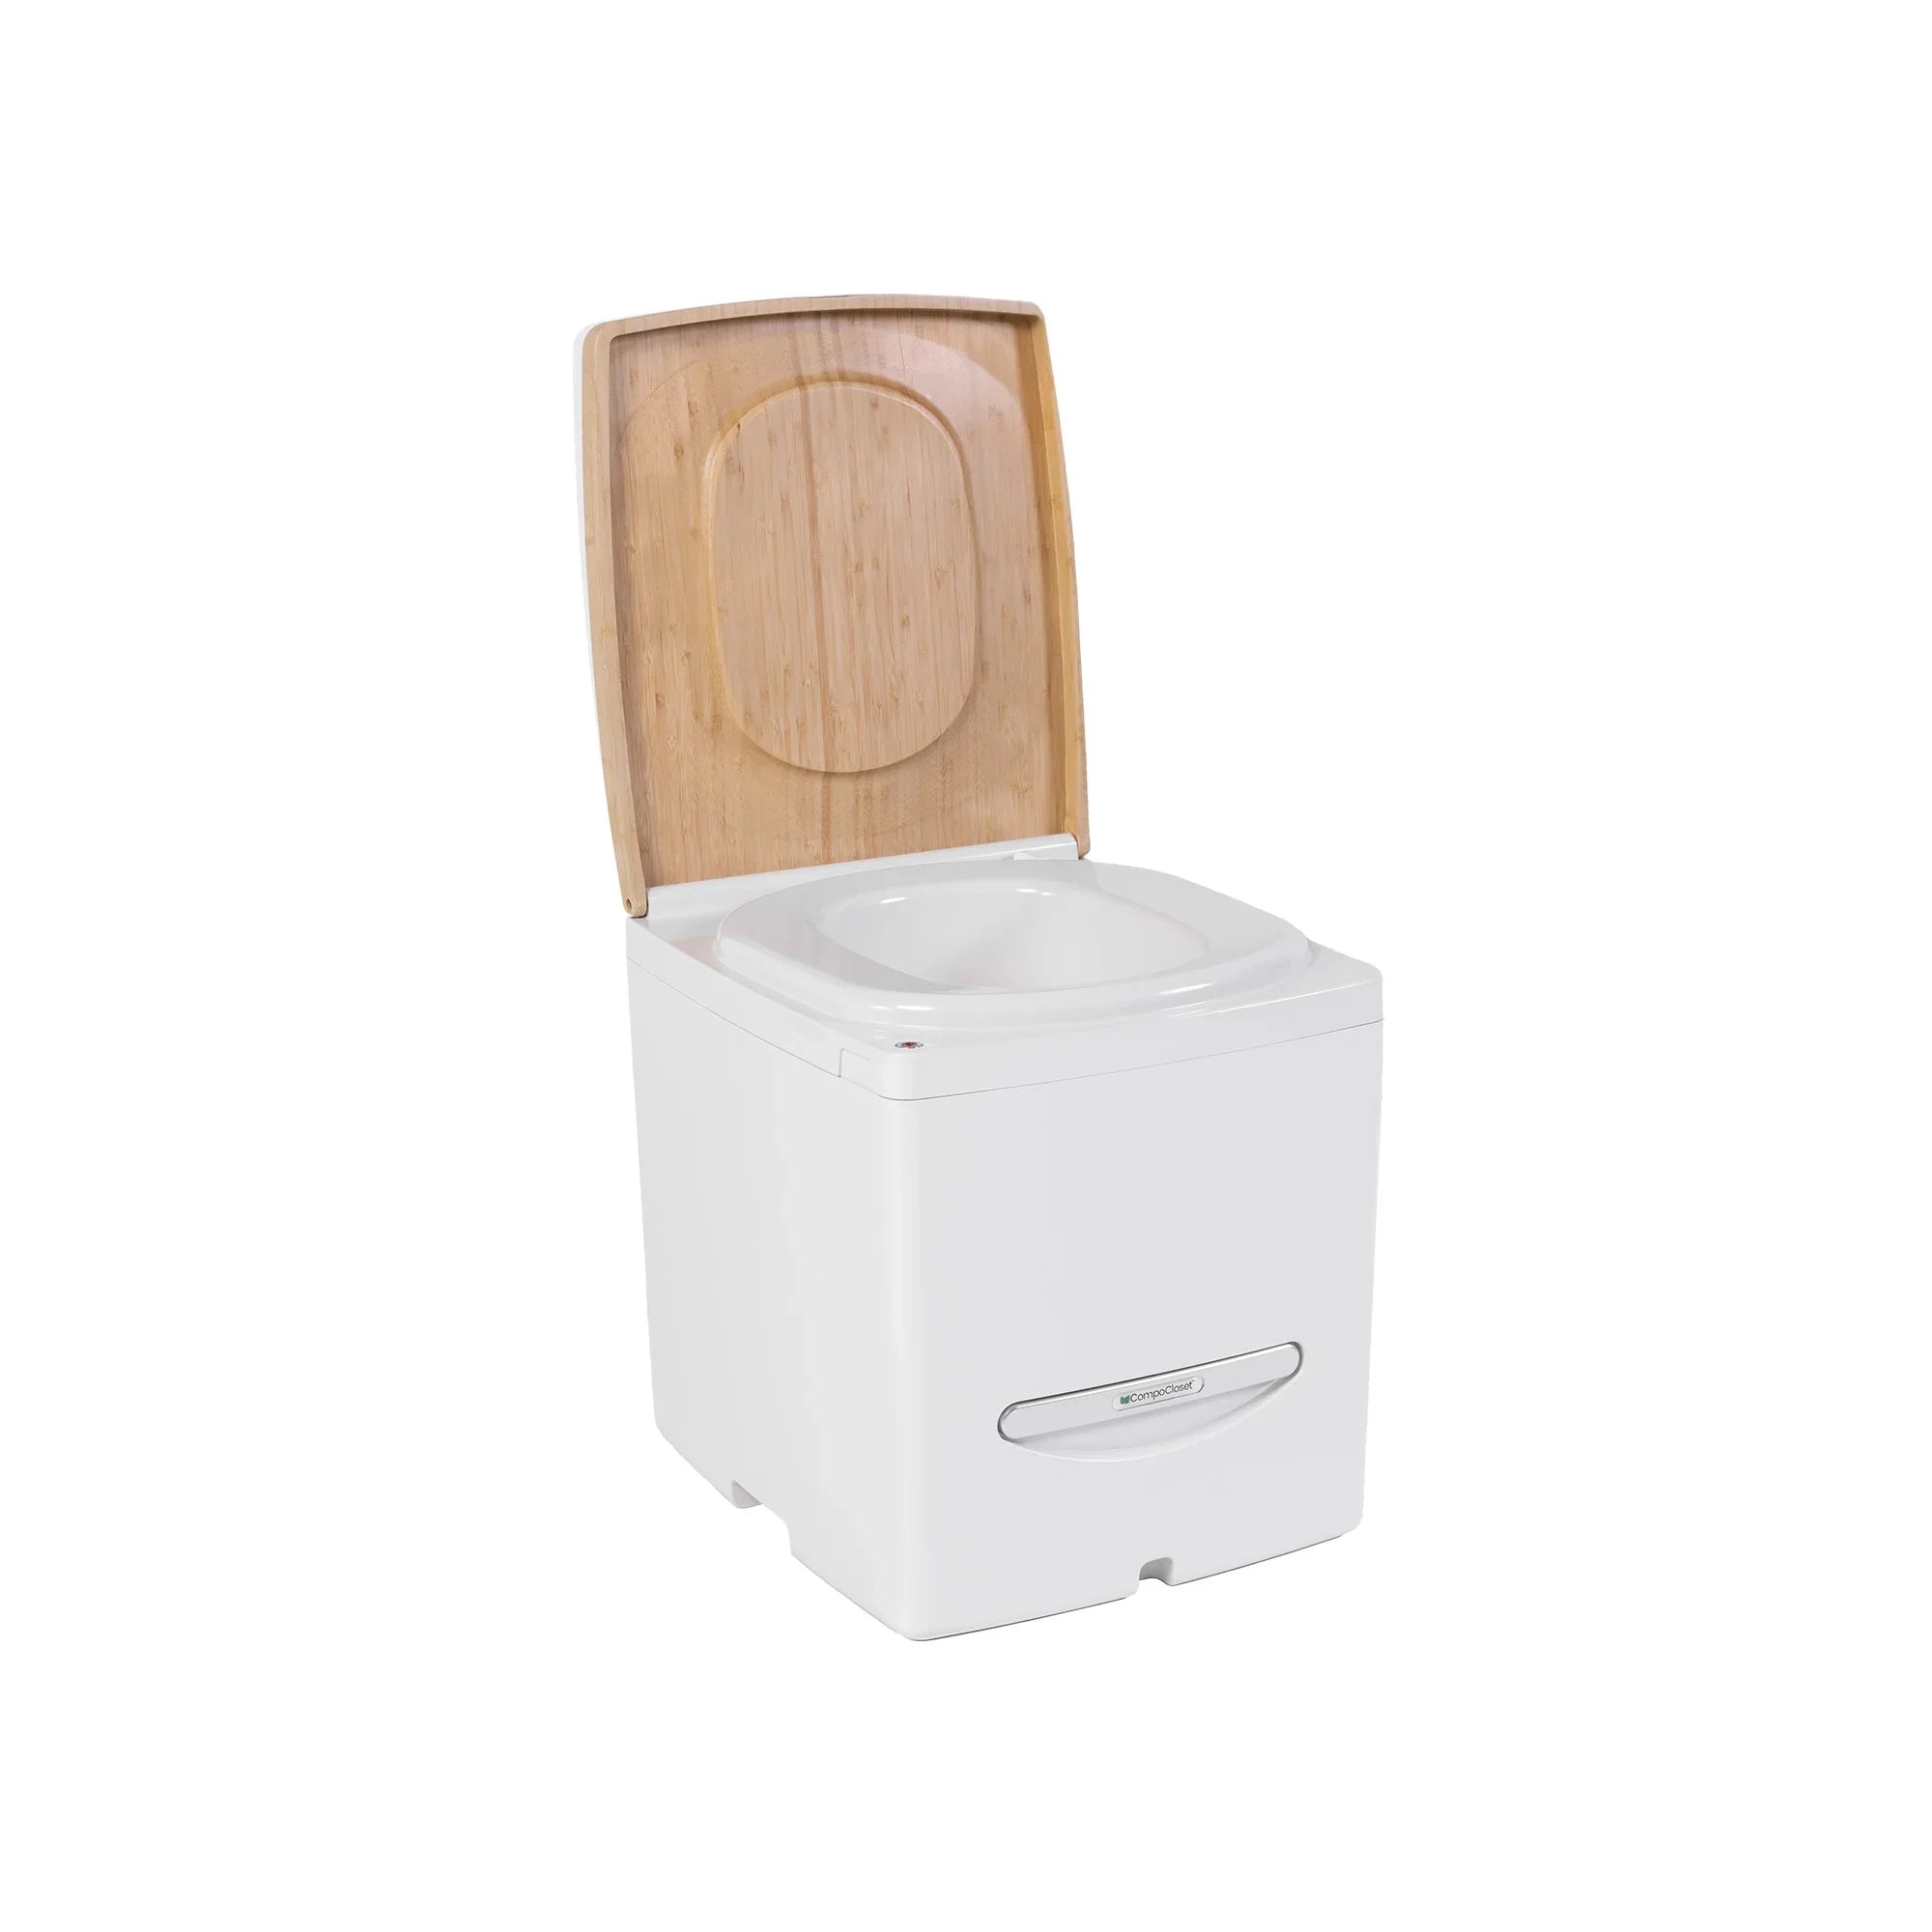
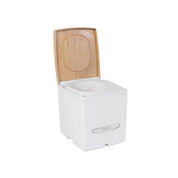
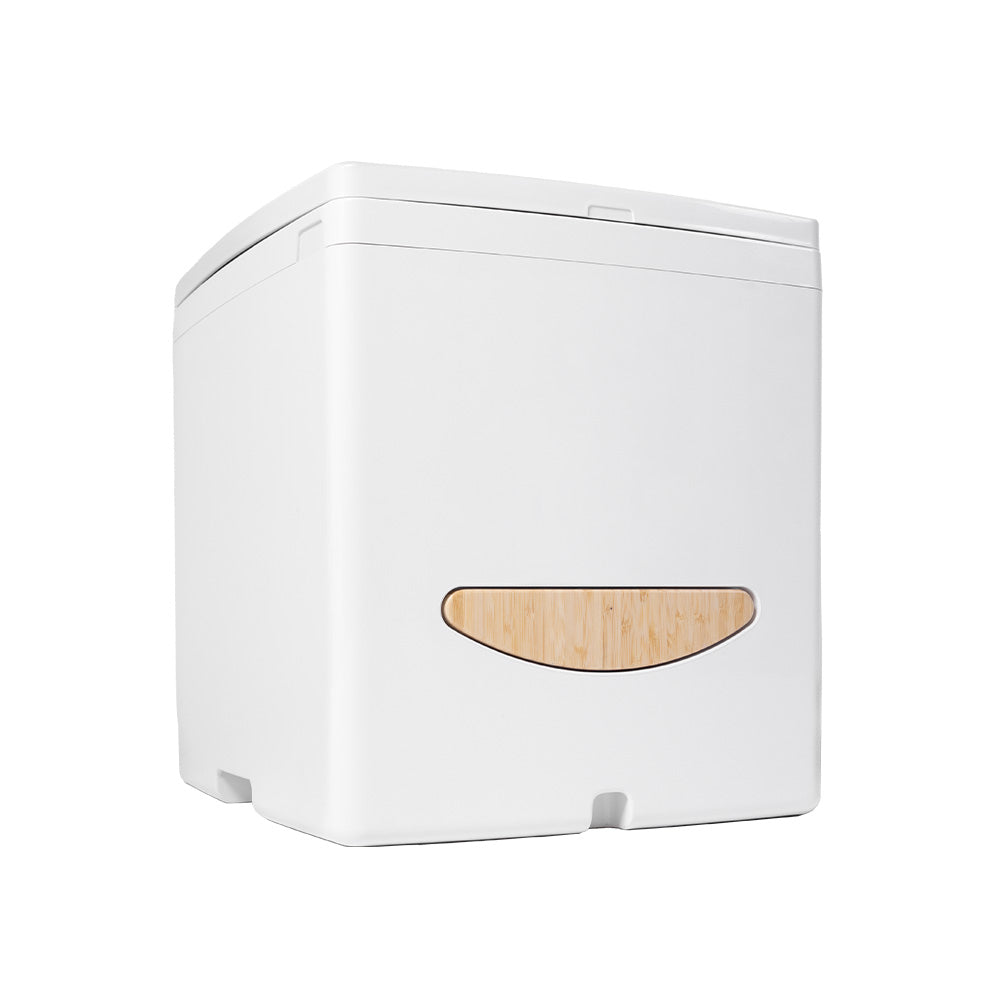
The Cuddy Composting Toilet is completely self-contained and ideal for full-time off-grid living or extended travel. It provides a low-maintenance, easy-to-use toilet solution for those who are looking for a more sustainable and eco-friendly way to manage their solid waste.
Key Product Highlights
-
Self-Contained System: No need to add a layer of substrate after every use, freeing up room in your tiny space.
-
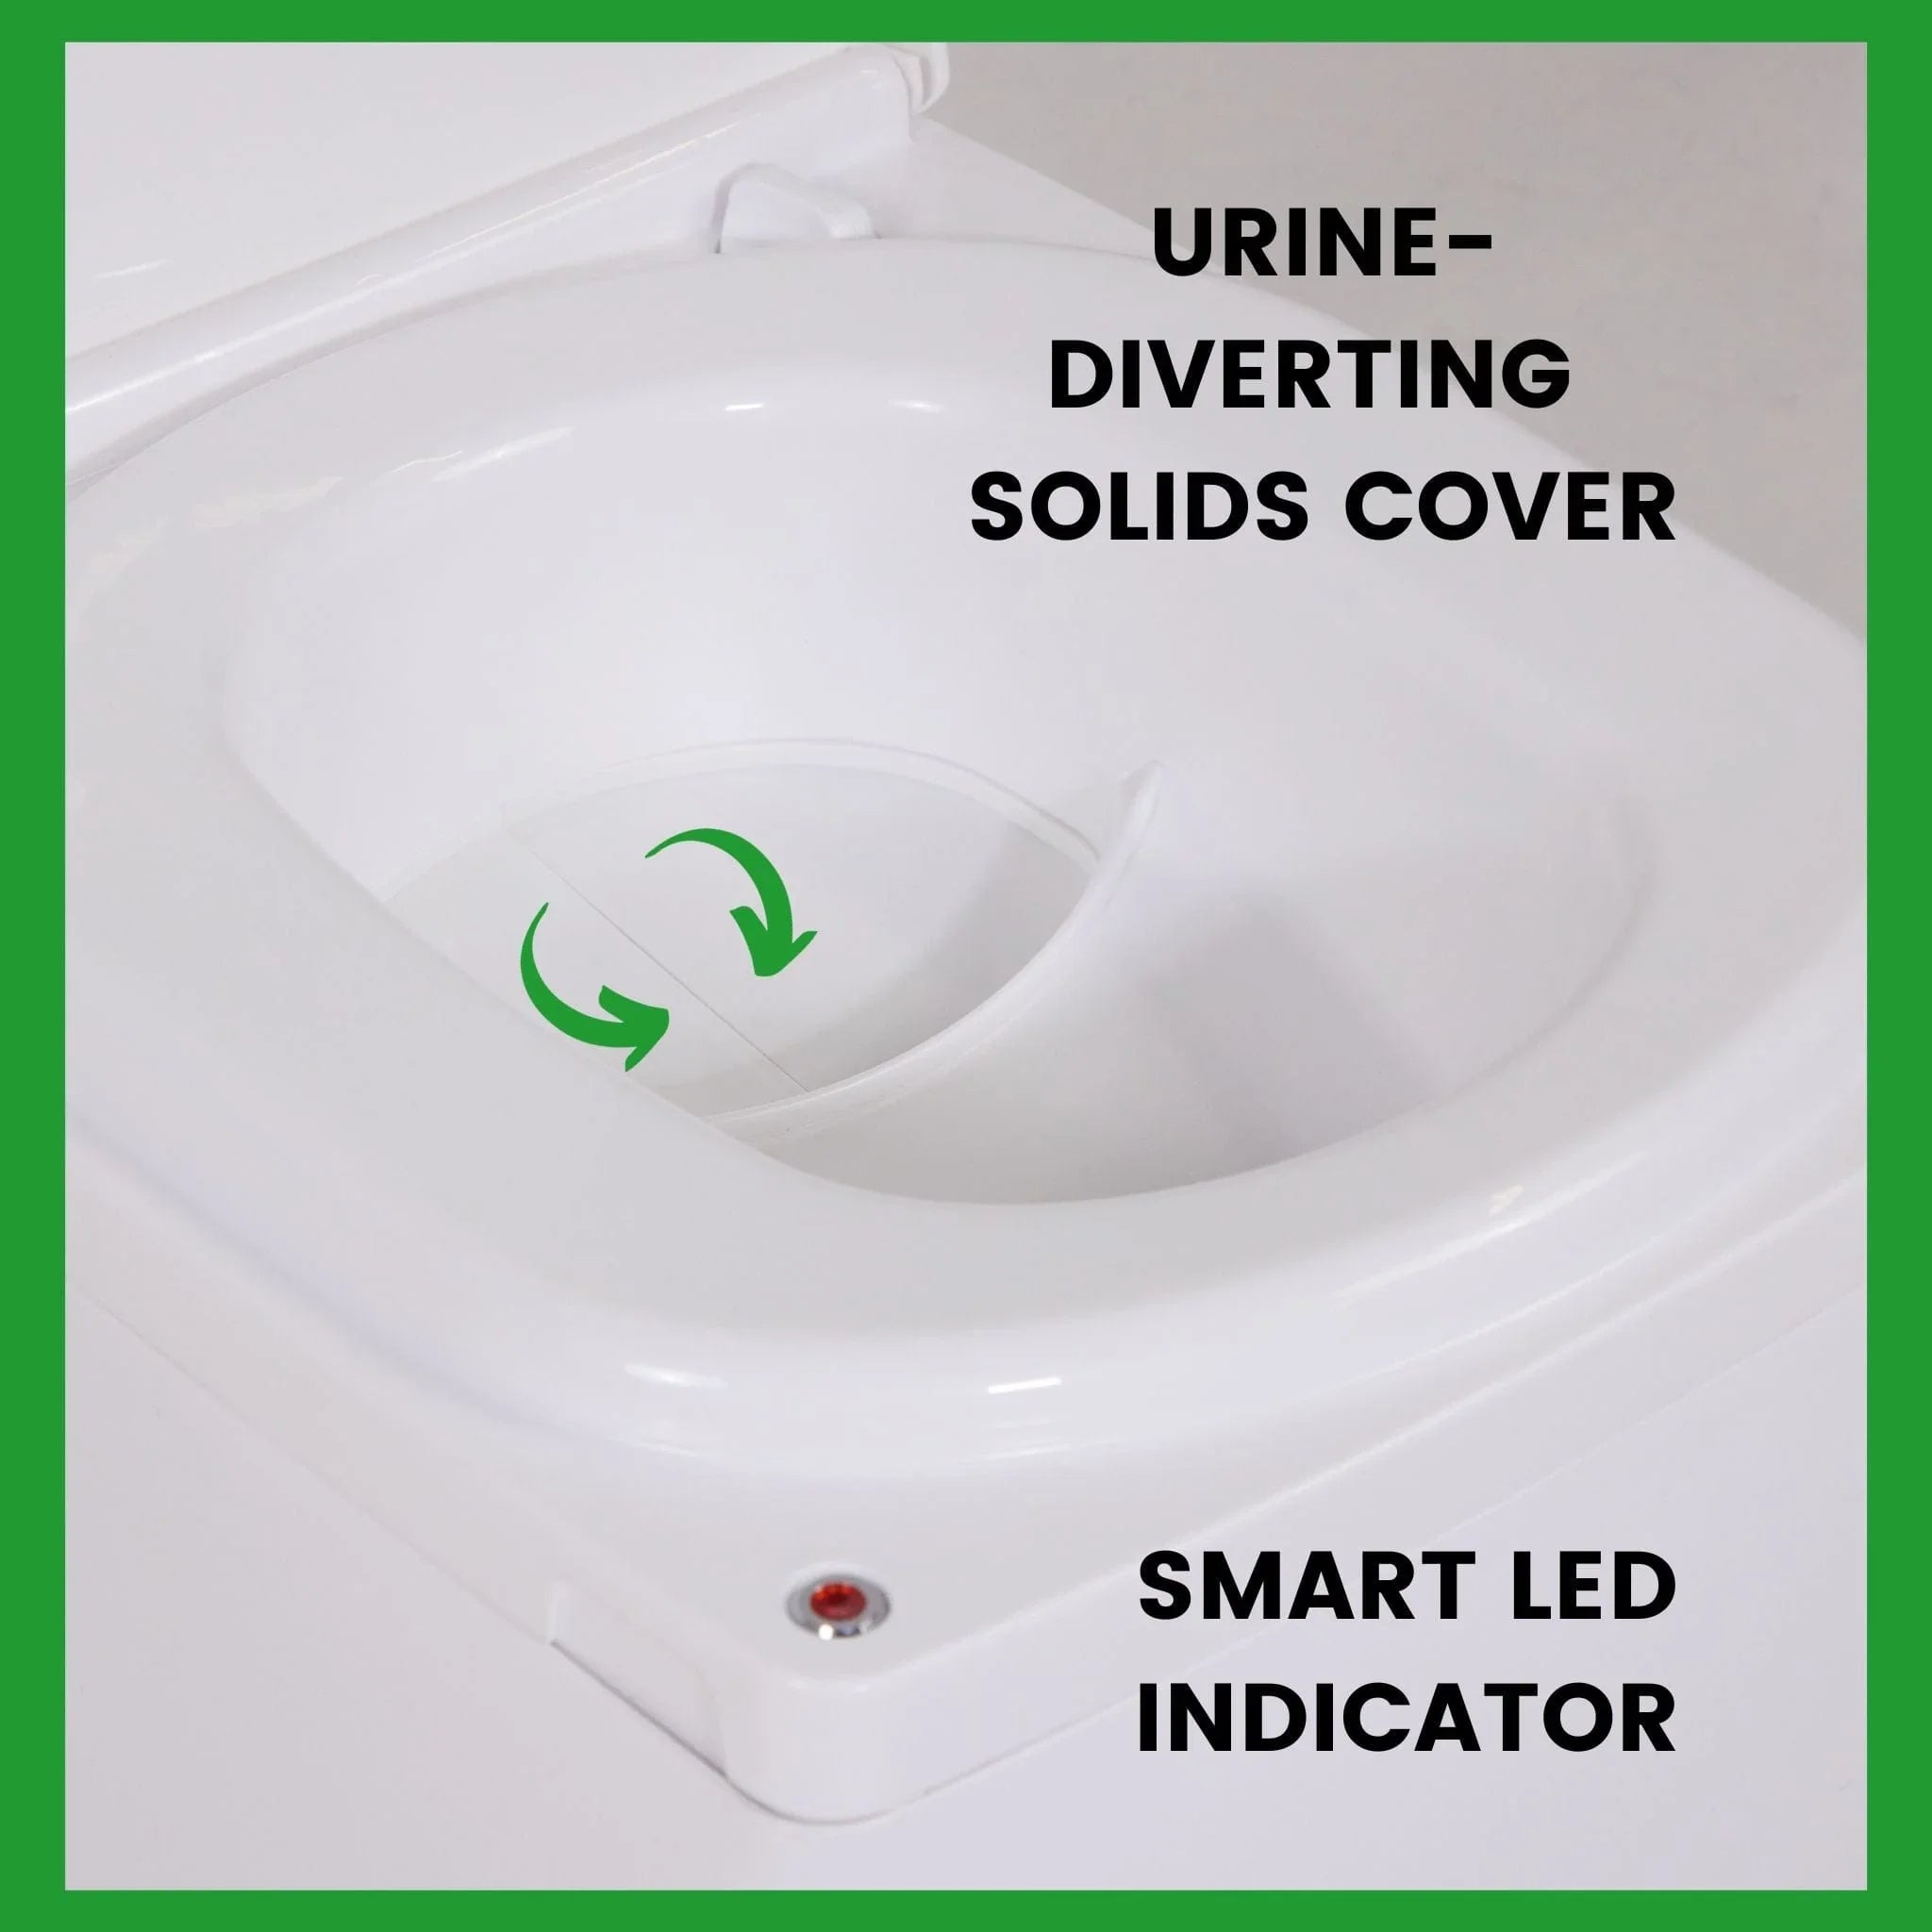
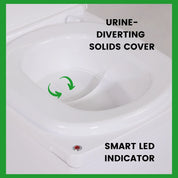
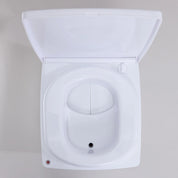
Odorless: Innovative urine-diverting design separates urine from solids, preventing mixing and creating sewage, keeping your bathroom smelling fresh.
-
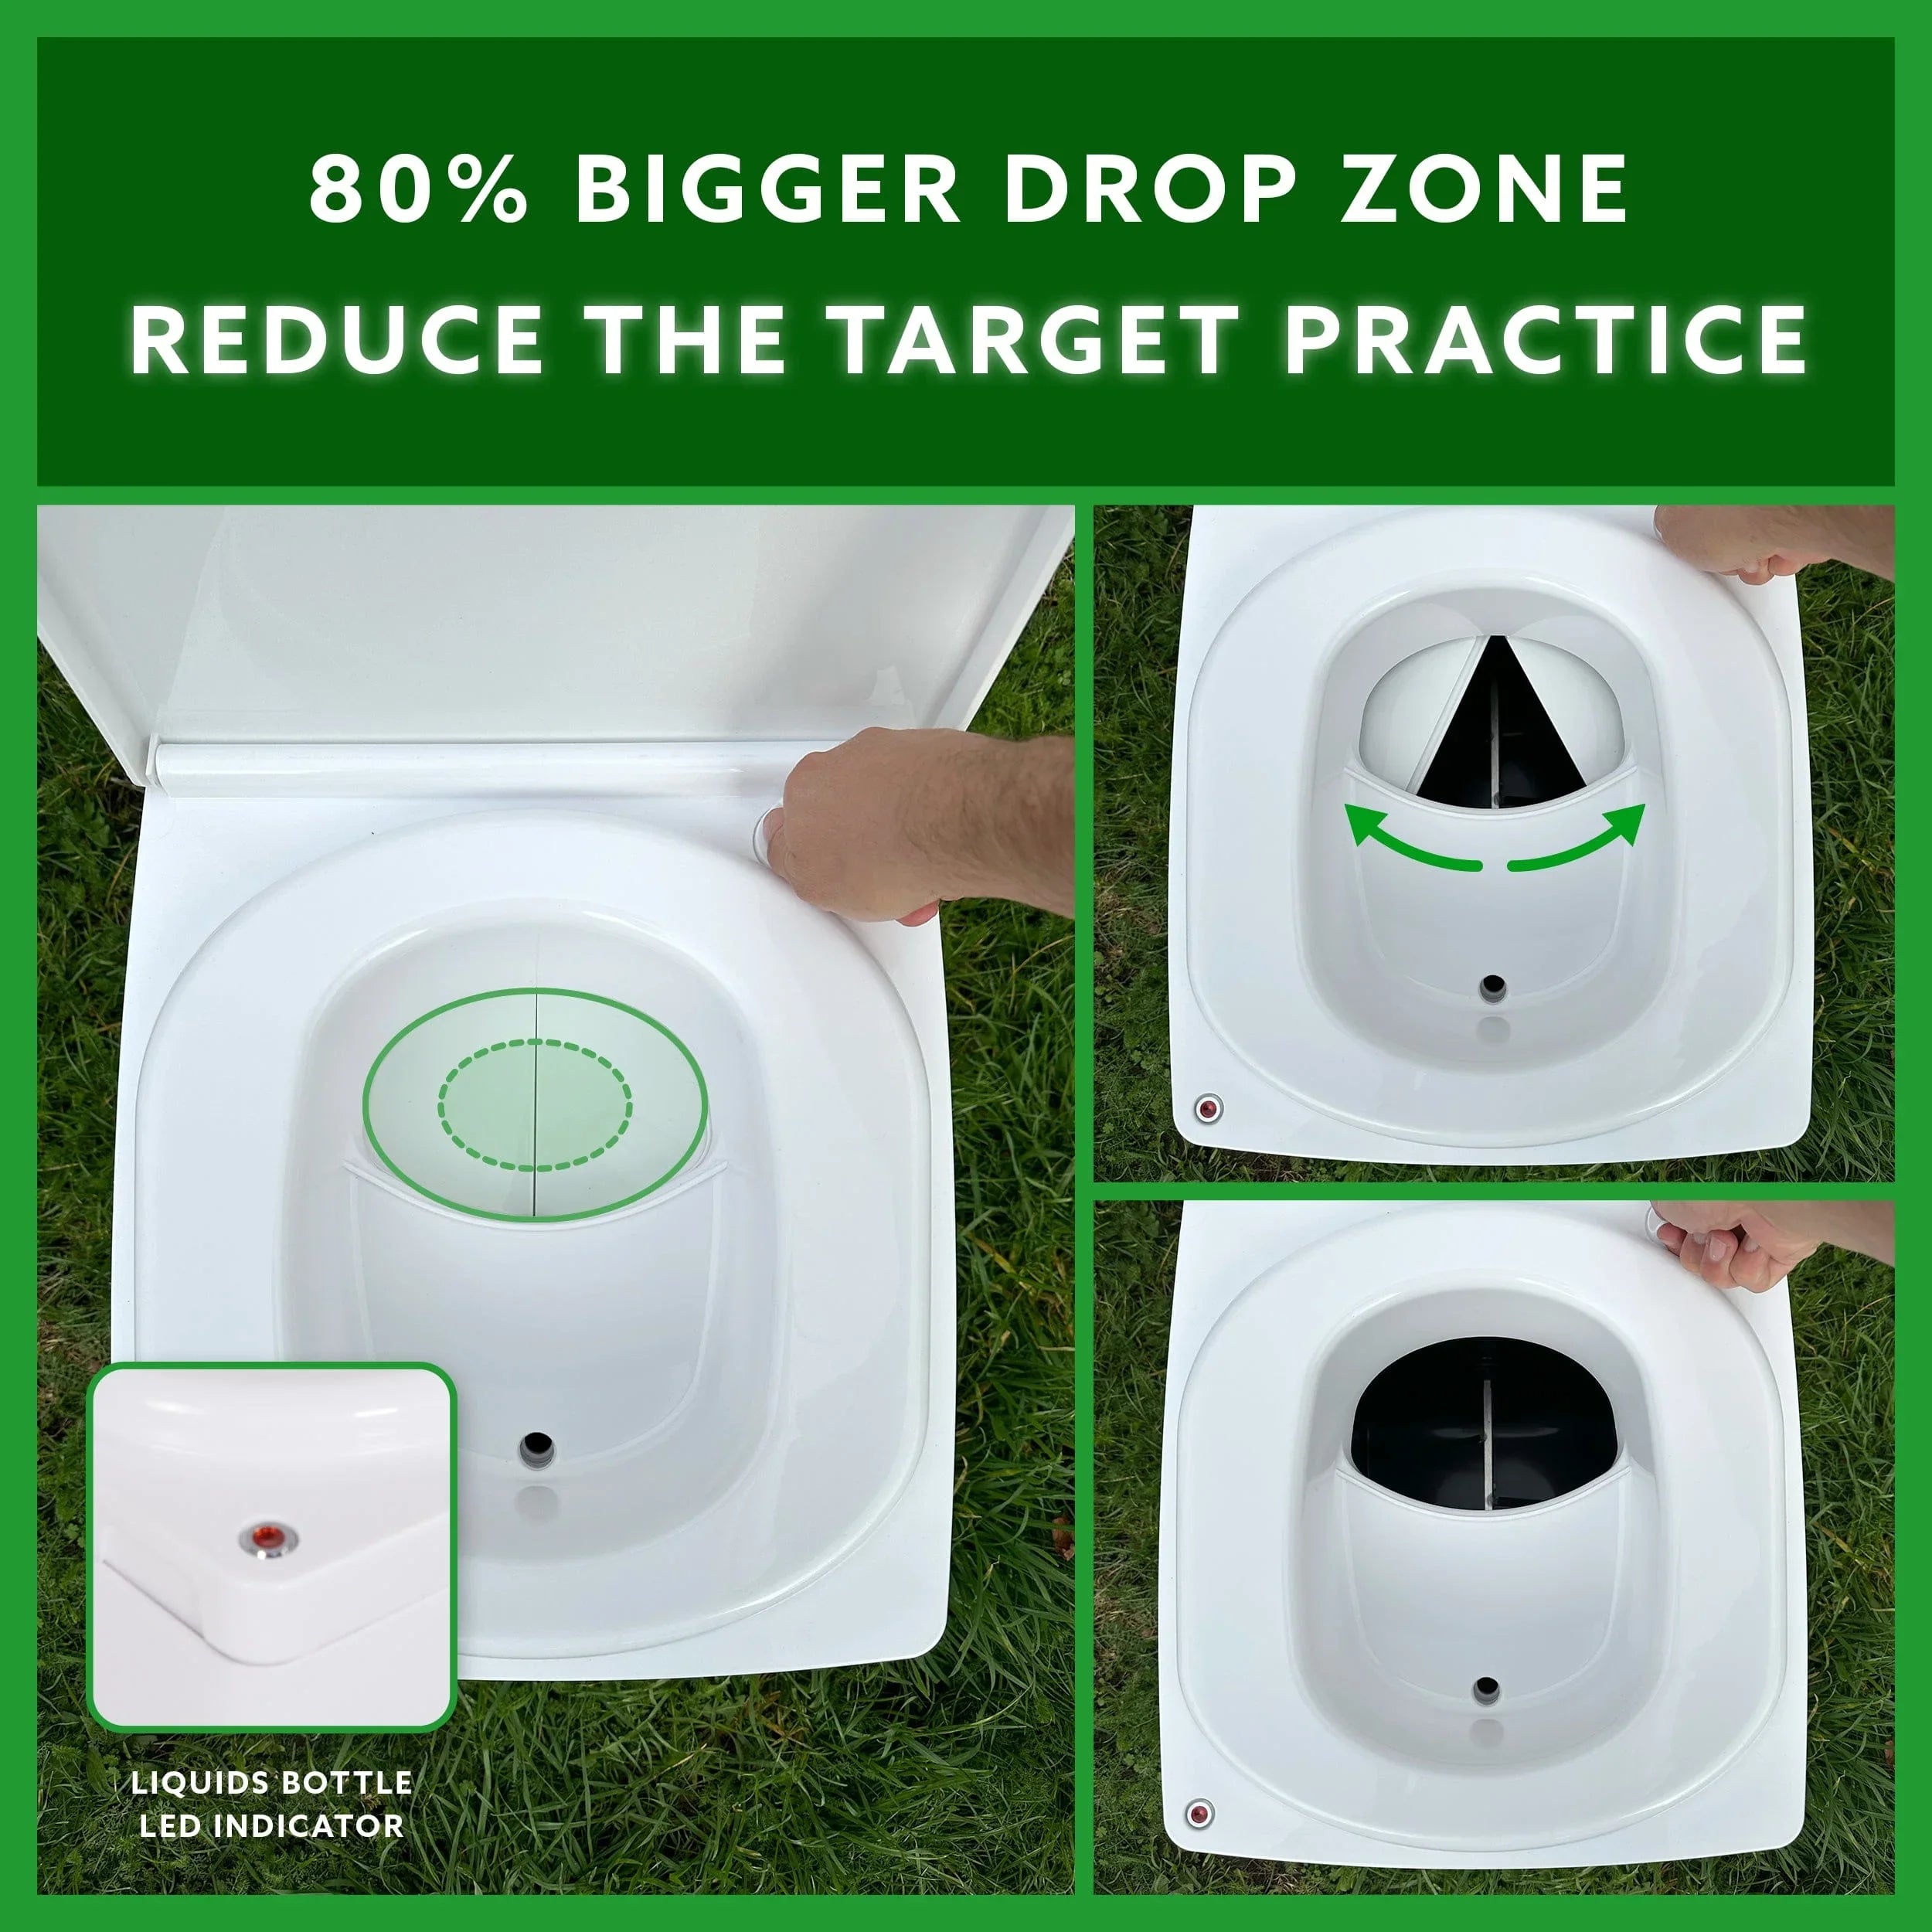
Urine Indicator Light: Never worry about overflowing your liquids container again!
-
Reduced Emptying: Better waste breakdown through efficient composting means fewer trips to the compost pile to empty.
-
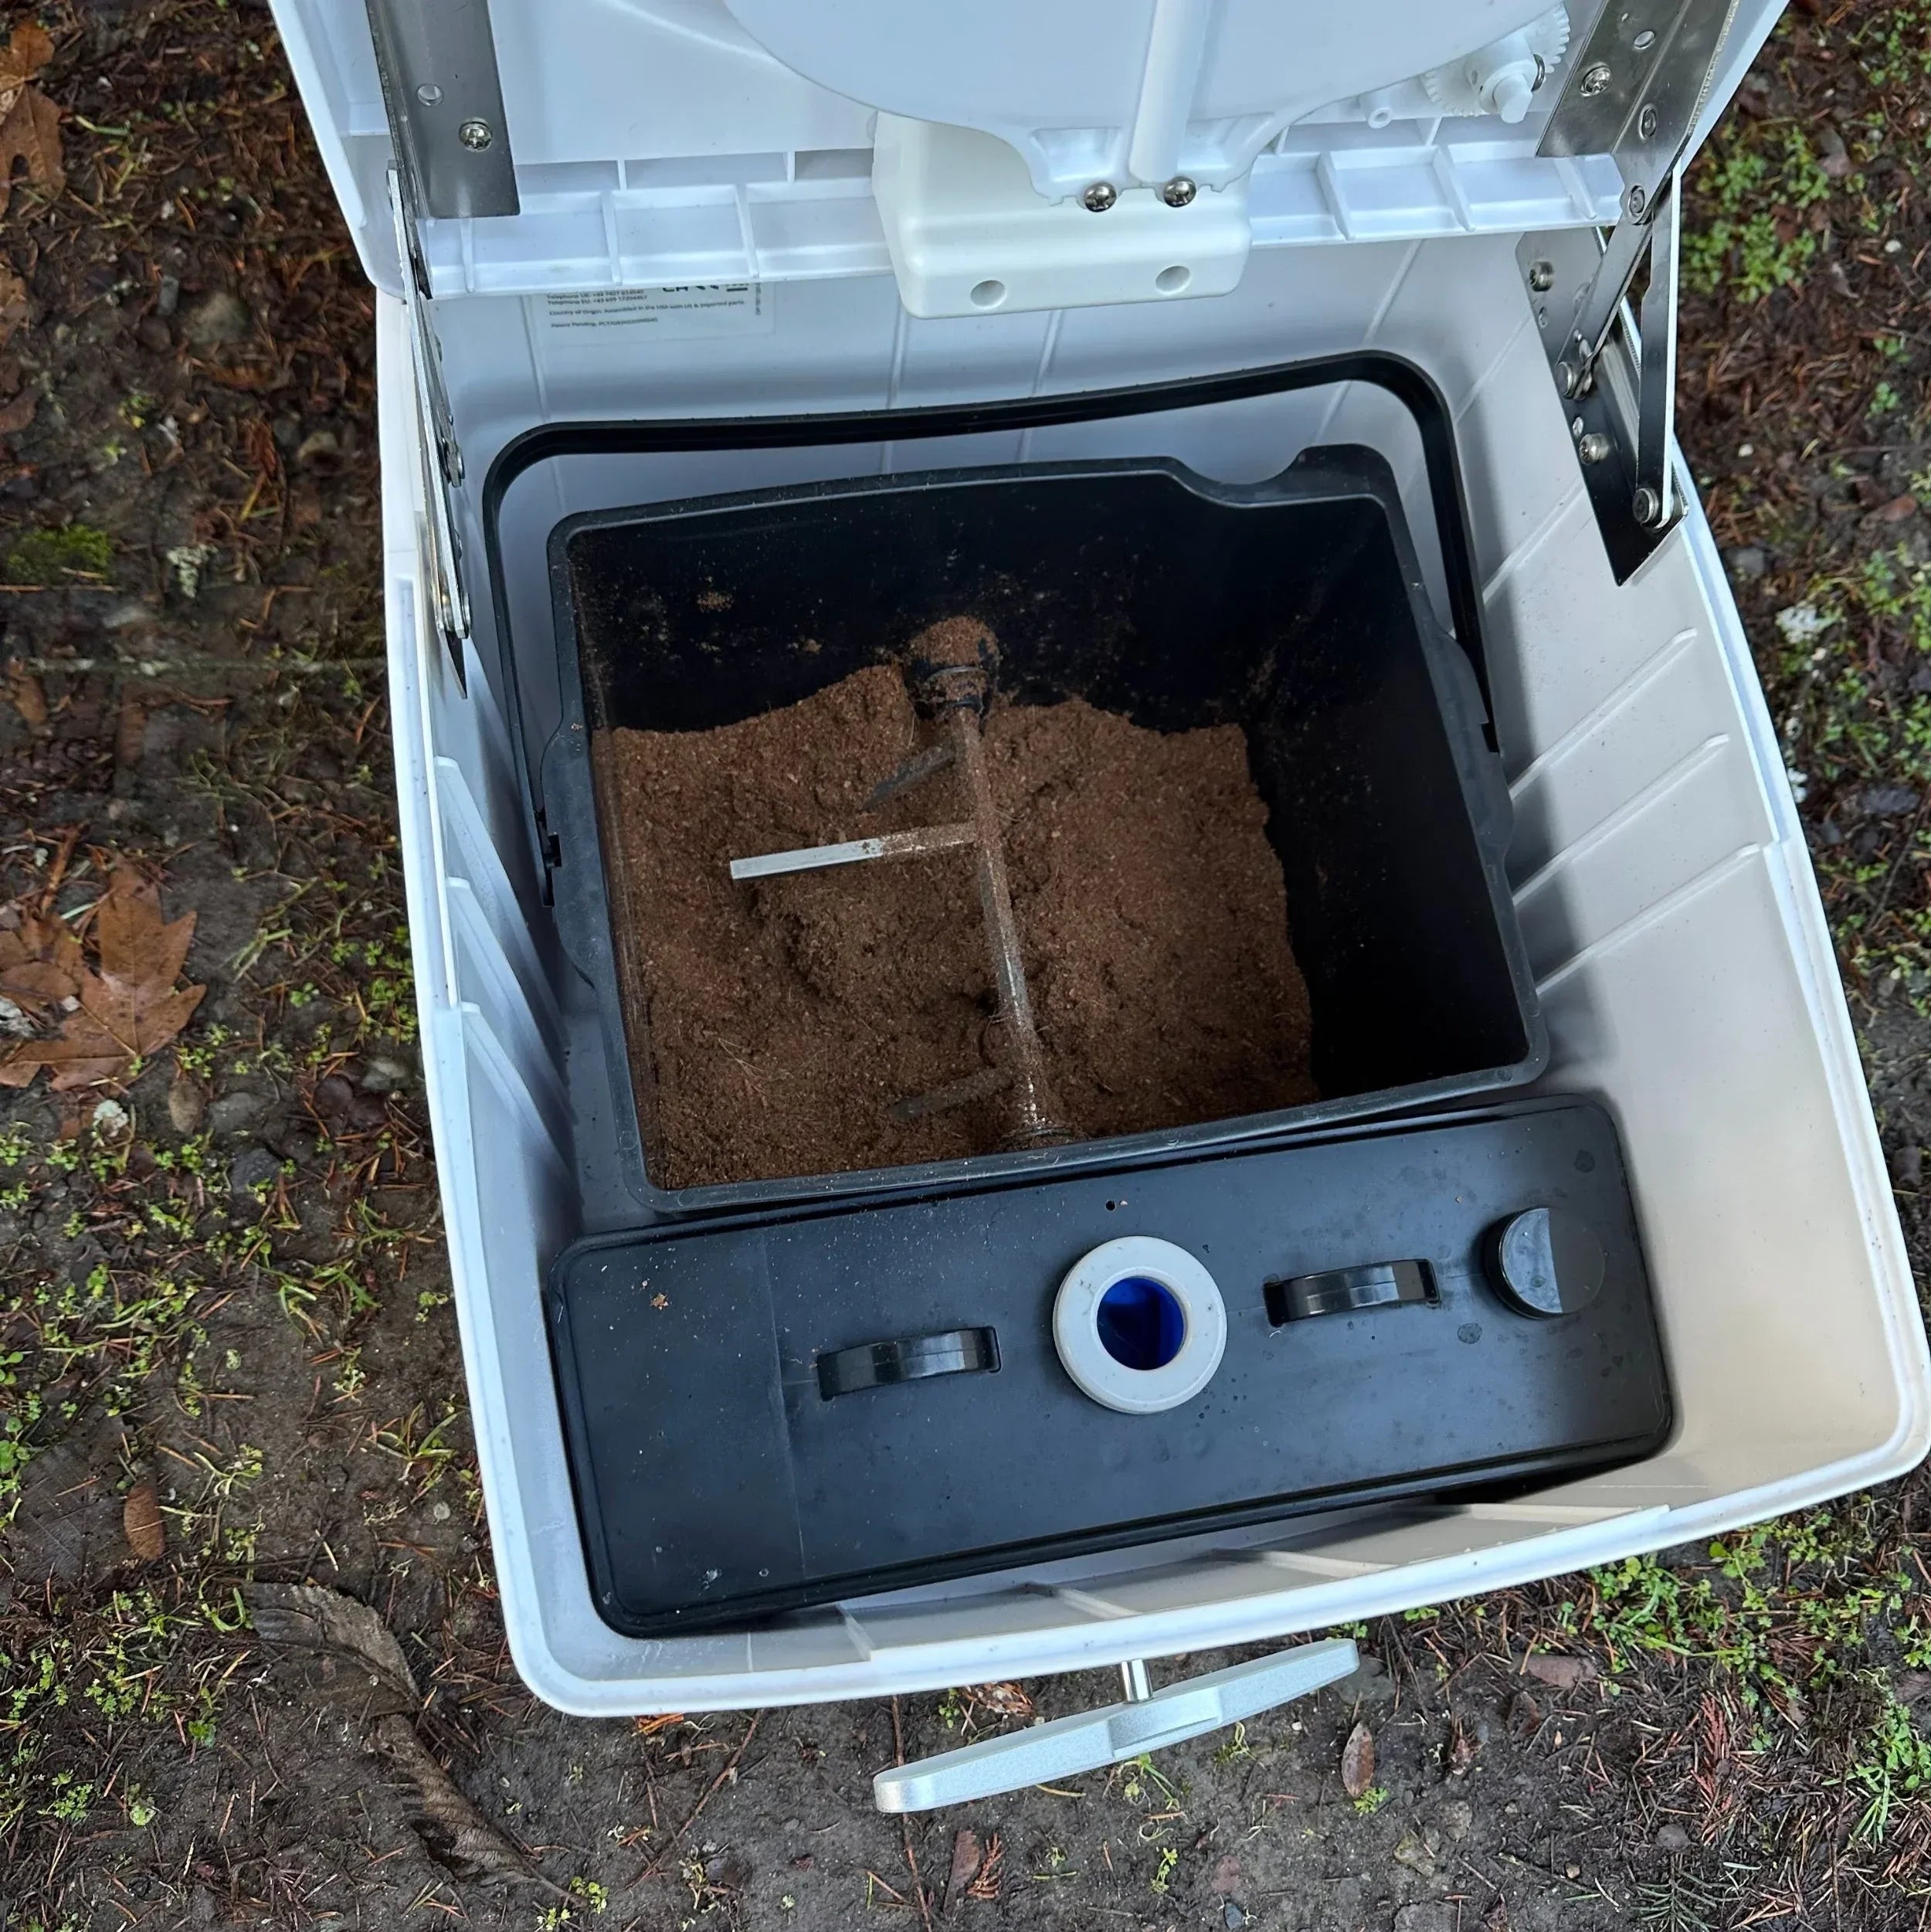
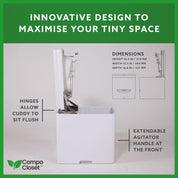
Agitator Mechanism Condenses Waste: Ensures simple and effective waste management by mixing and drying waste, making composting faster and easier.
-
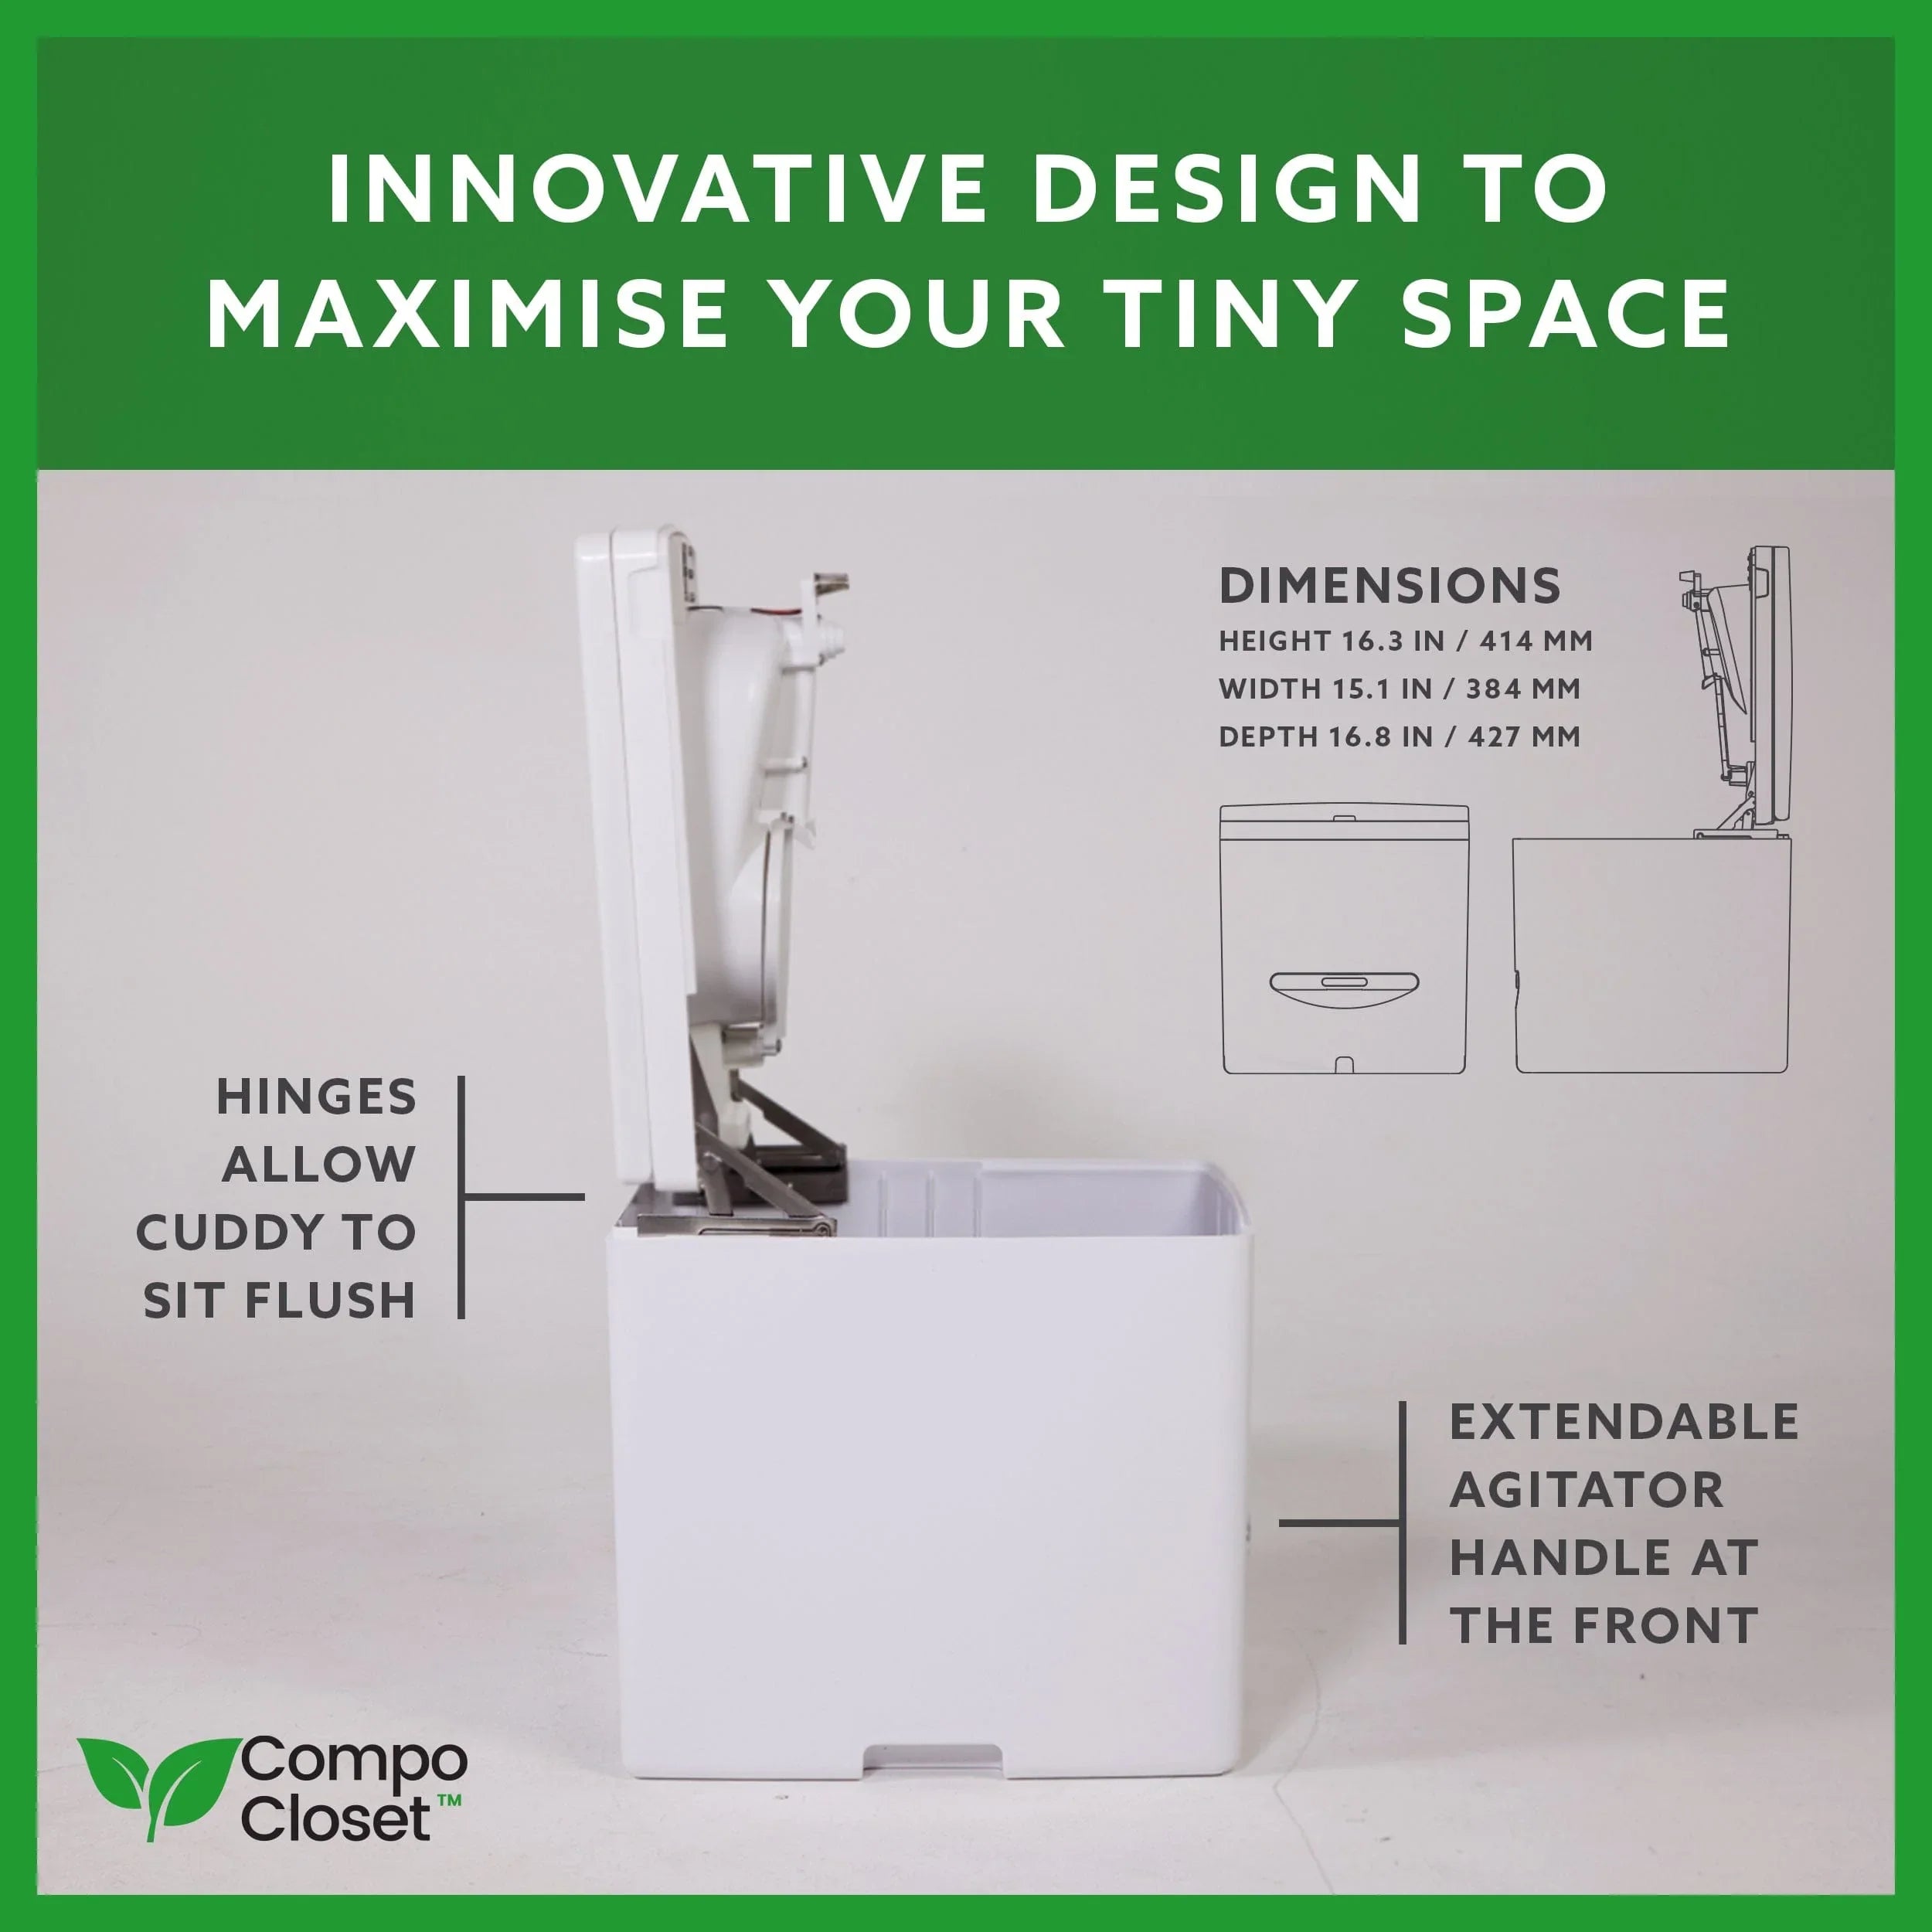
Easy Installation: Cuddy fits almost anywhere and can be installed flush against a wall while still being able to open the lid completely
-
Multi-Use: Easily convert your Cuddy into a Cuddy Lite or add the S1 Dry Flush Adapter Kit, to accommodate every toilet need!
Delivery
Cuddy is designed, molded, and assembled in California, and will be shipped free of charge with tracking directly to your door, duty free, in the Continental USA and Canada.
Returns
No problem if you change your mind! We make returns super easy by covering the cost and offering a full refund if you're unhappy for any reason within 30 days of receiving Cuddy, as long as you haven't used it and return it in the original packaging.
Return Policy
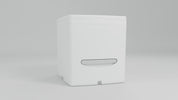
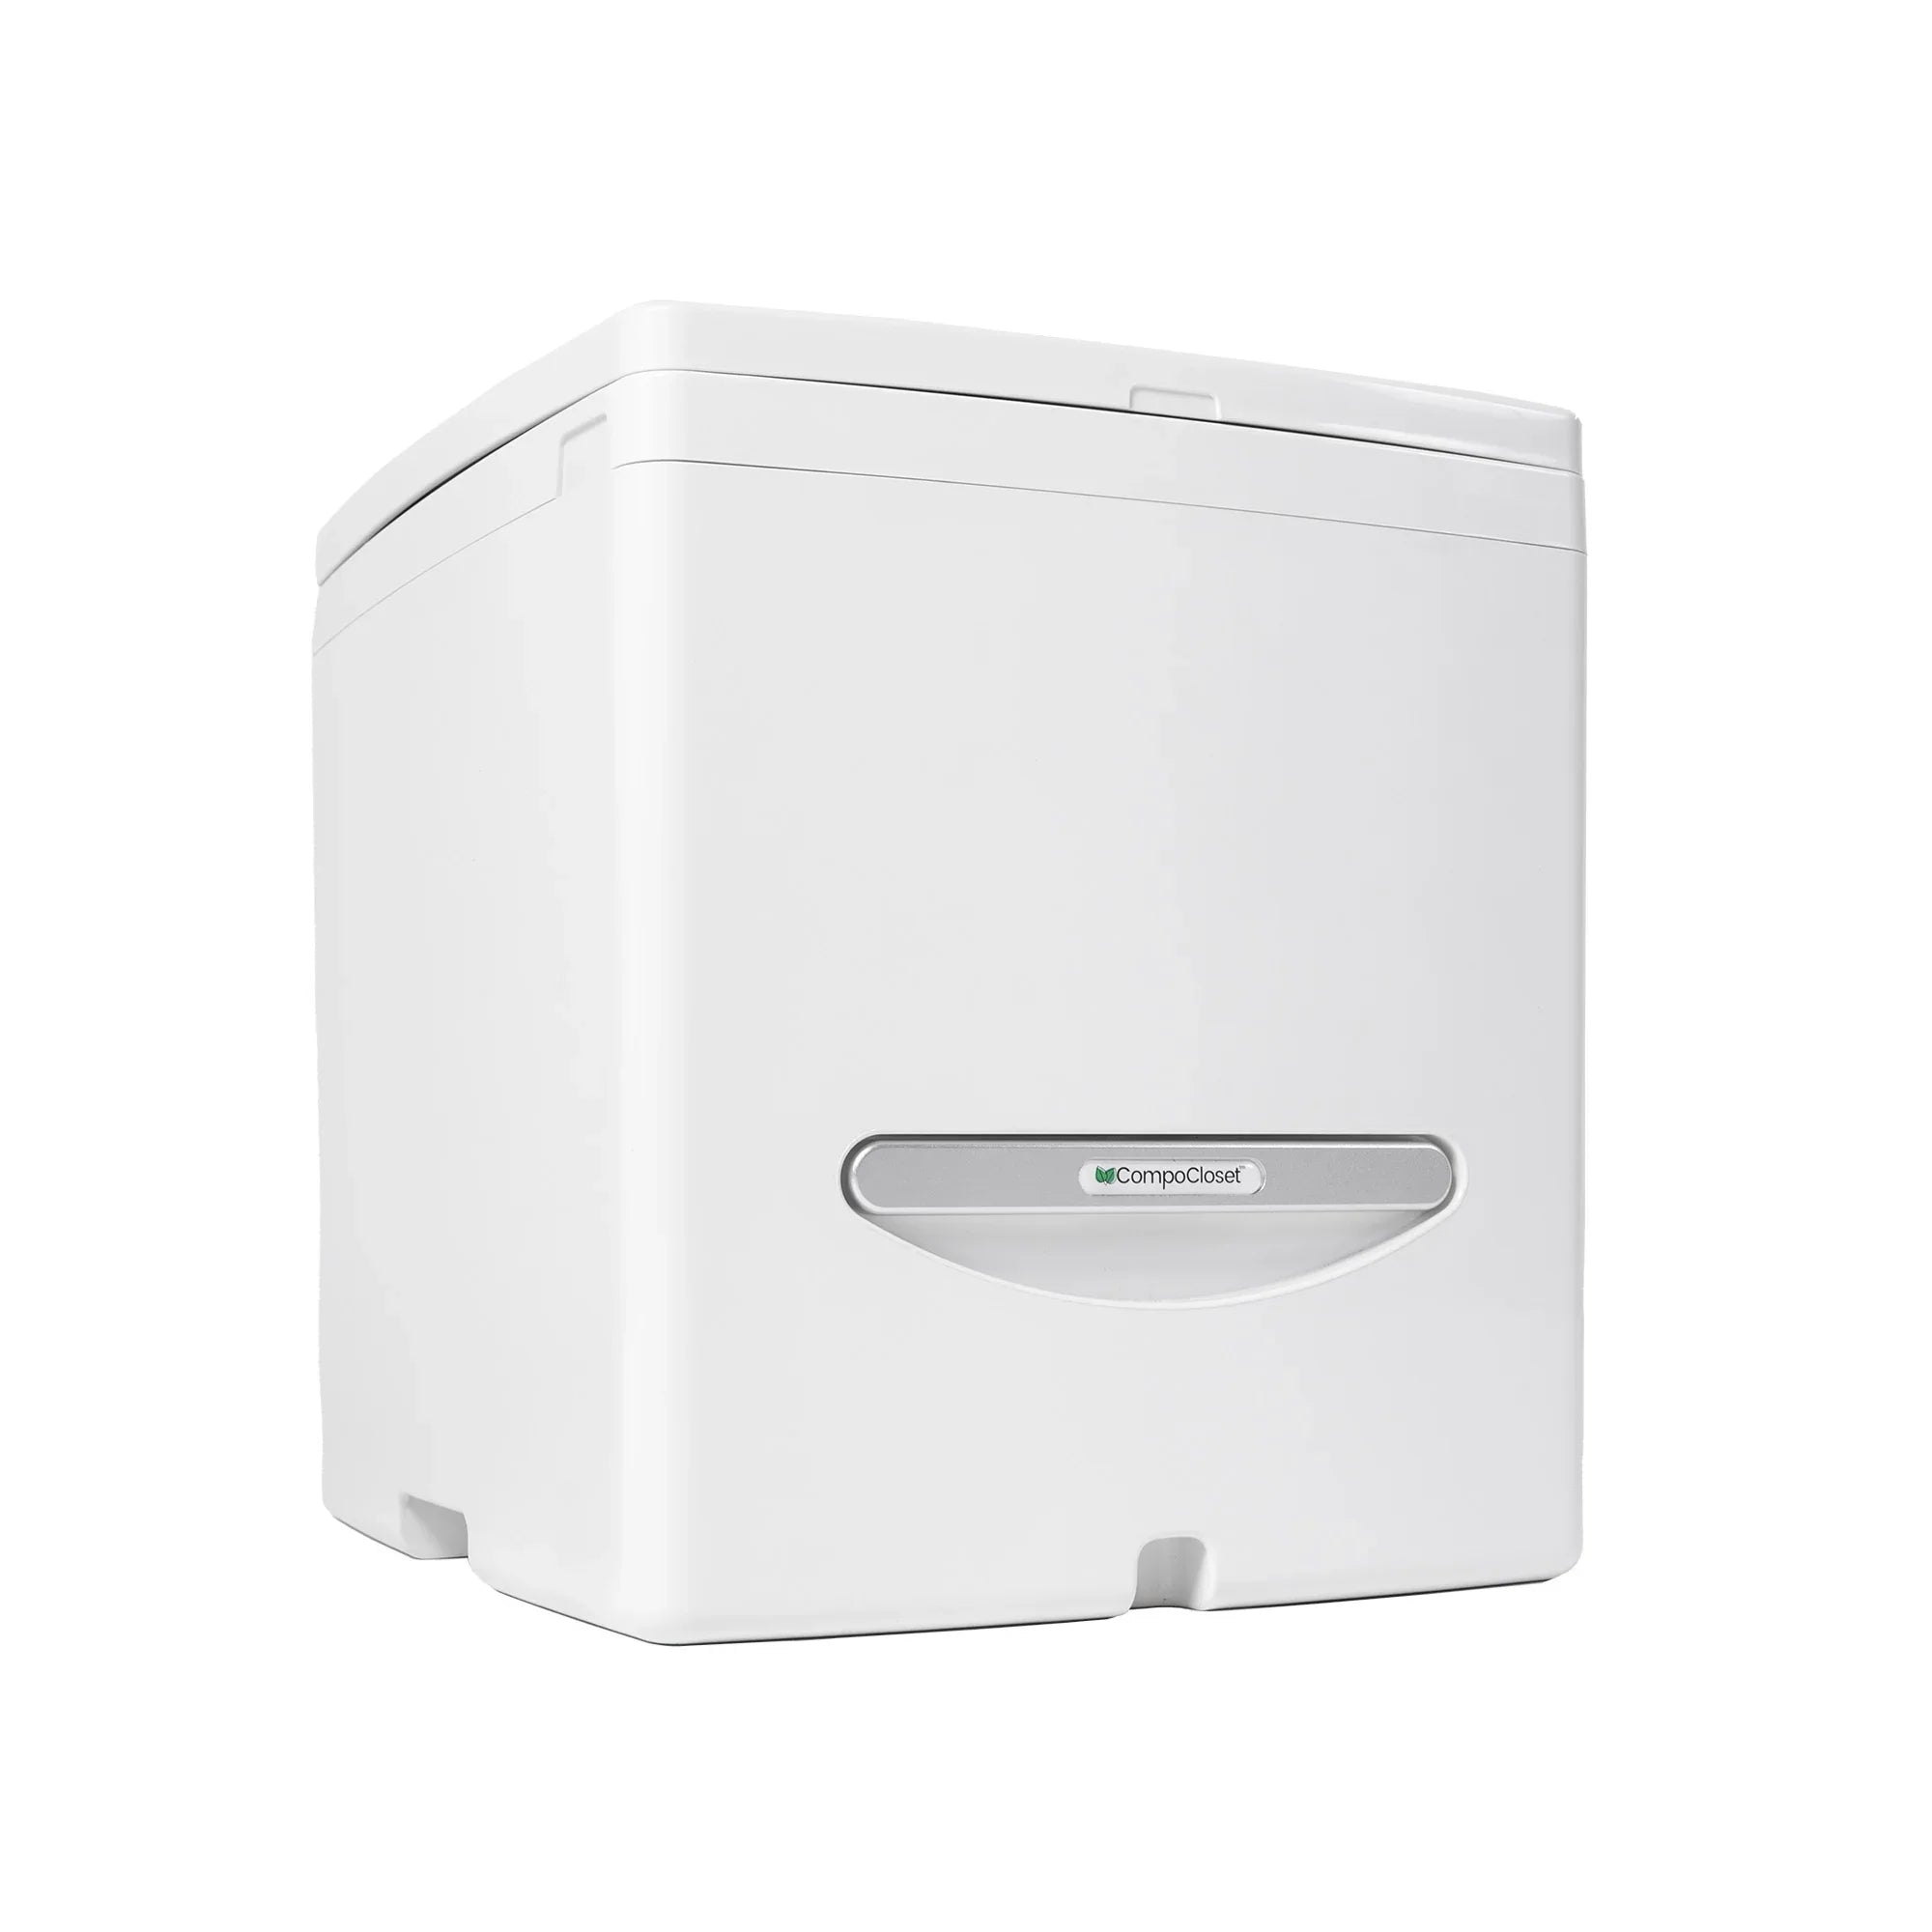
- D x W x H: 17.0" x 15.2" x 16.3"
- Weight: 28 lbs
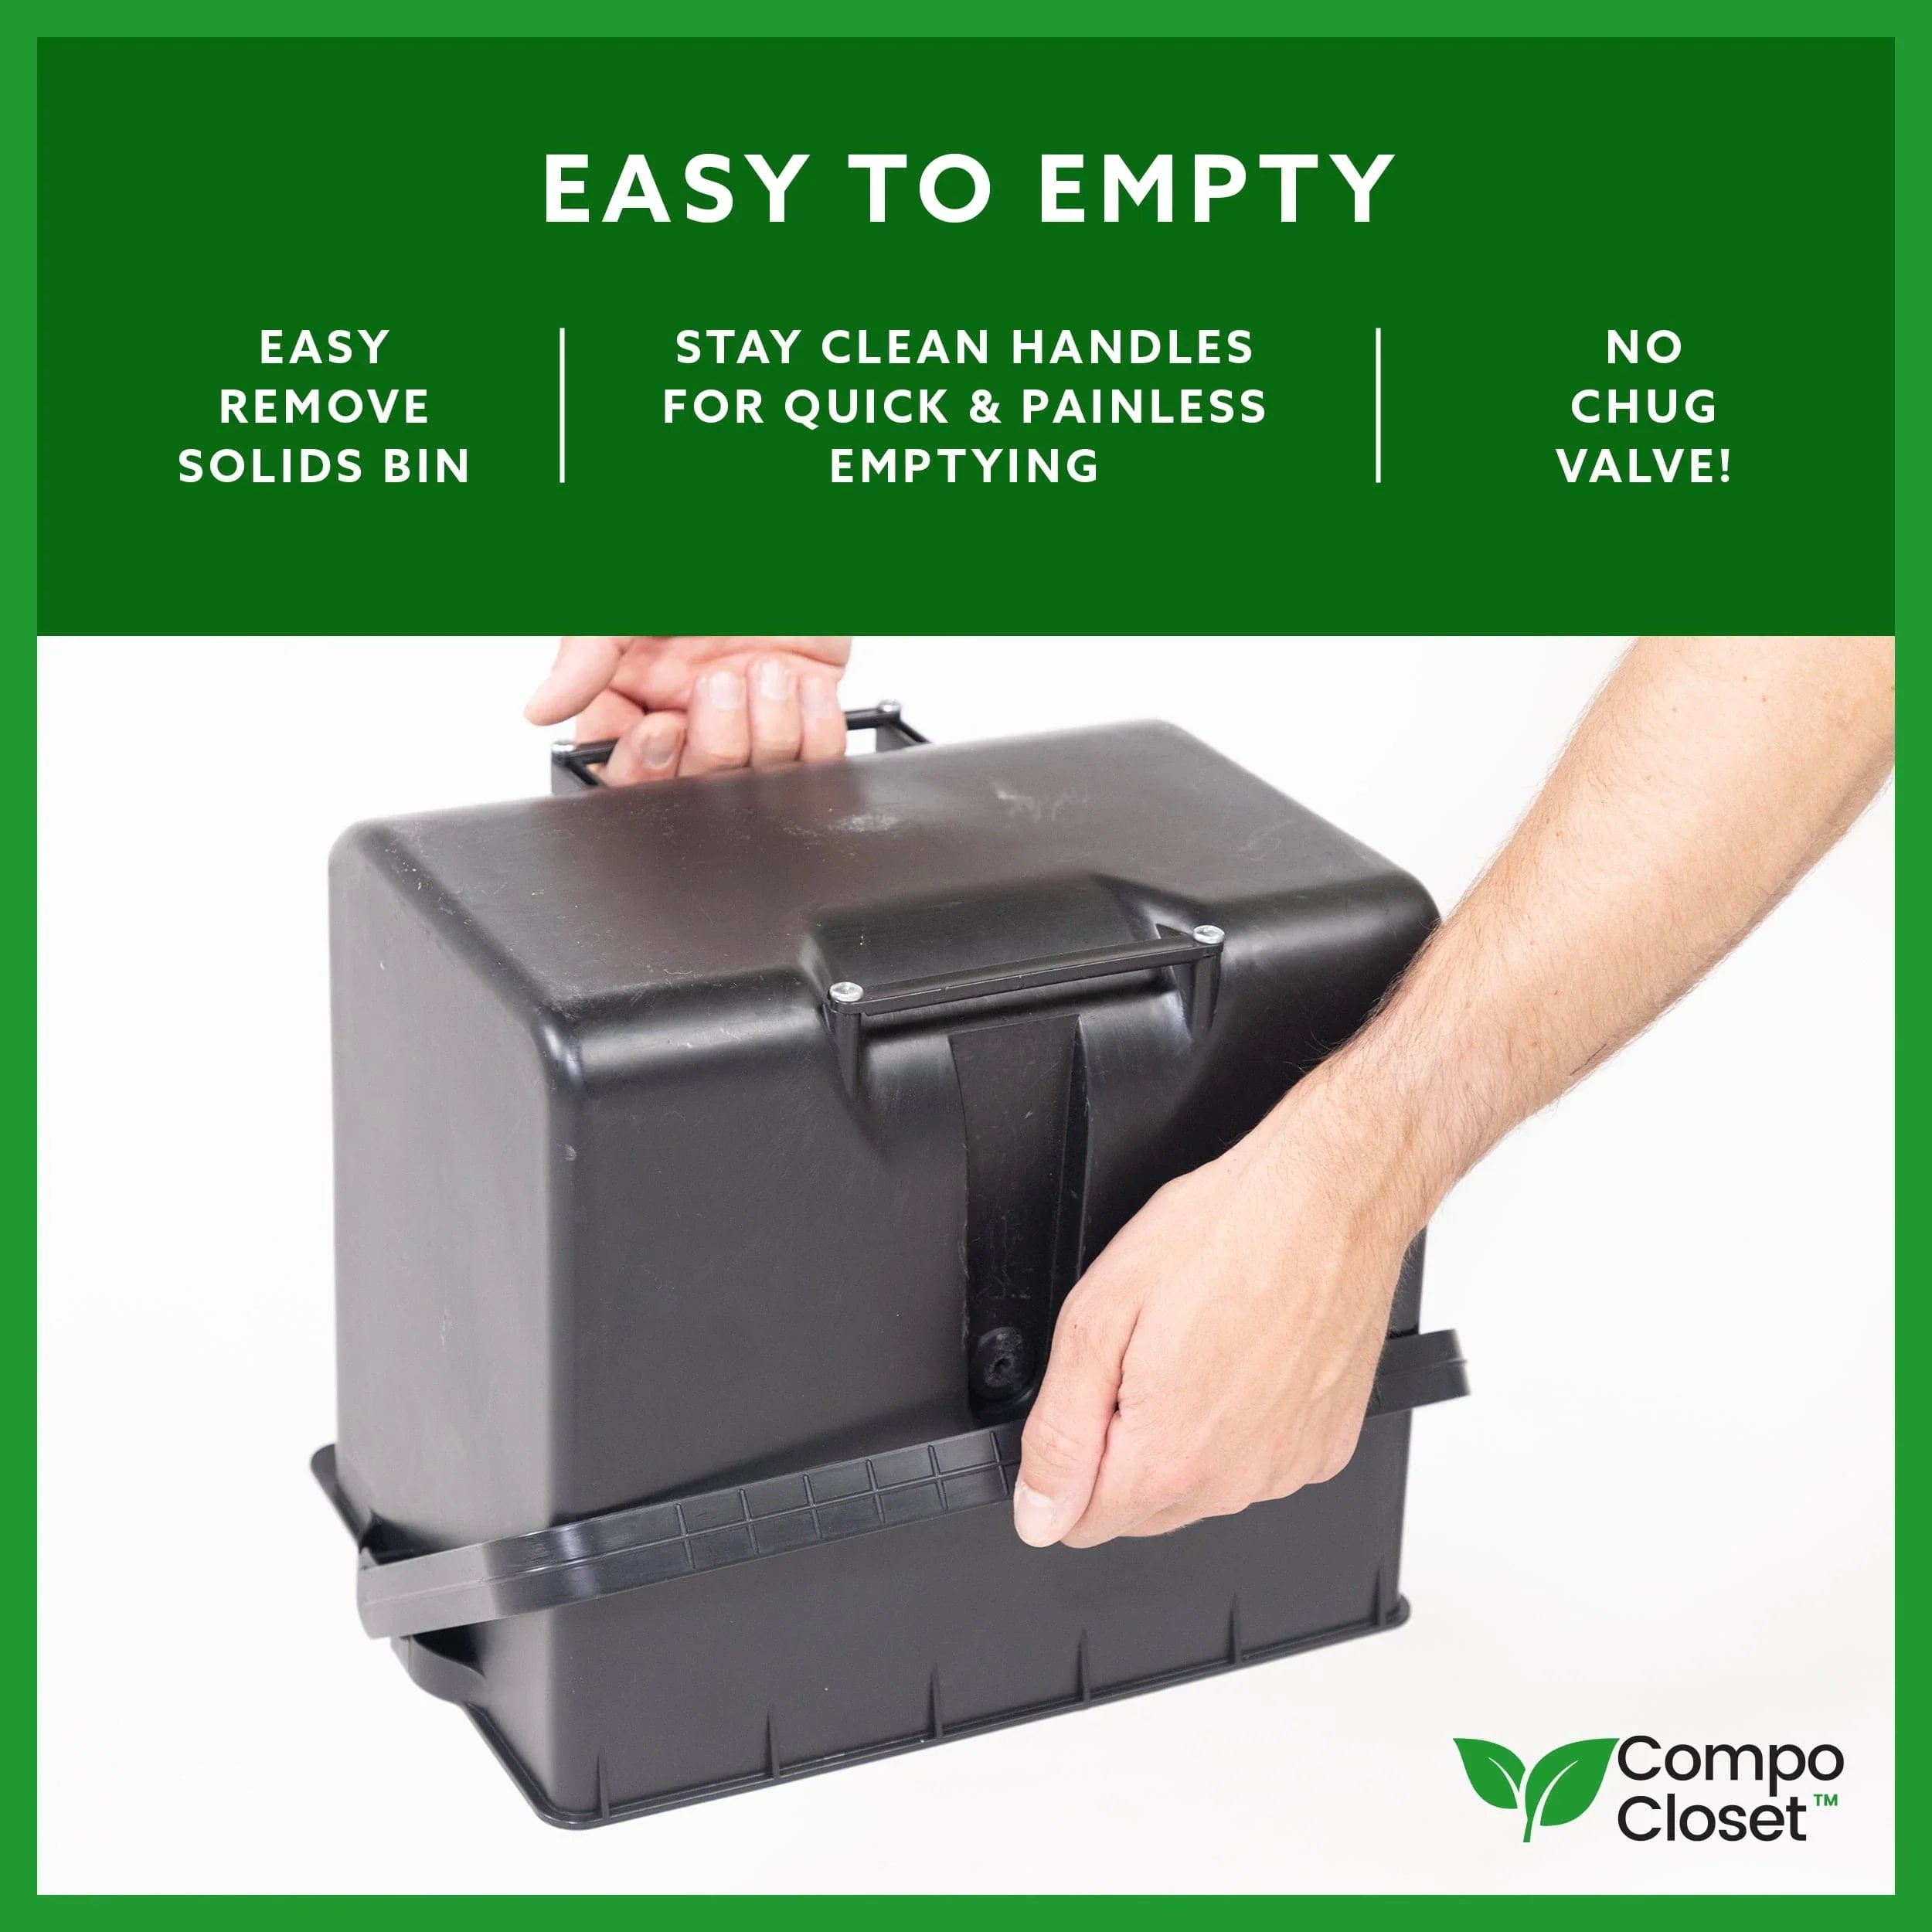
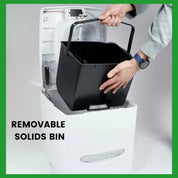
- 3.9 Gallon Solids Bin
- 1.7 Gallon Liquids Bottle
Power Requirements:
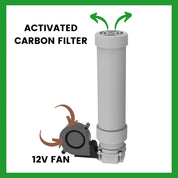
- 12V - Fan (Power Cord Included)
- 9V Battery (Not Included) - Smart Urine Level Indicator
- Cuddy Composting Toilet
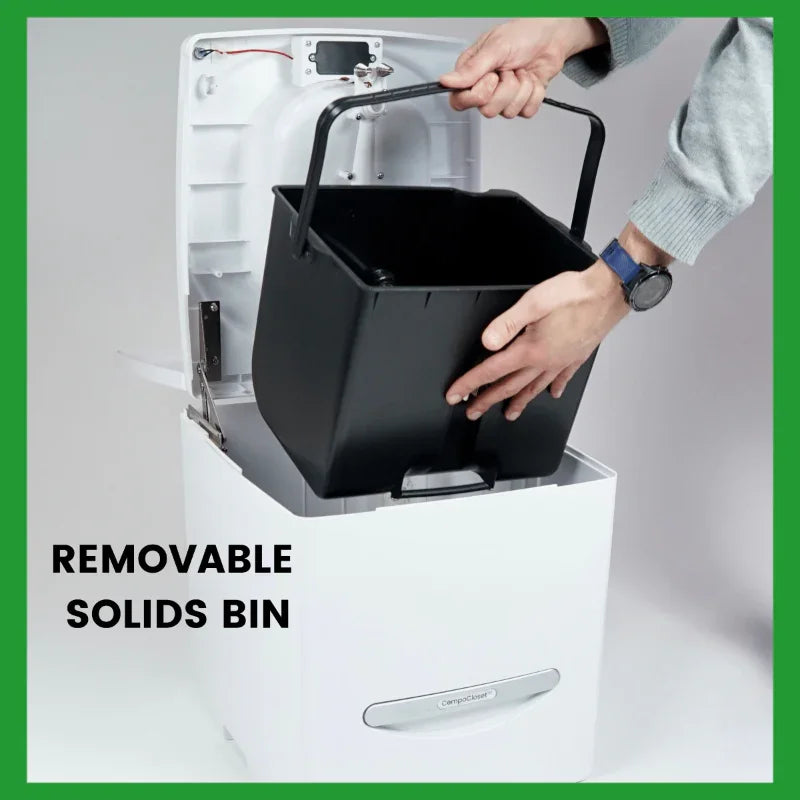
- Solids Bin with Agitator & Cover
- Urine Bottle with Silicone Valve
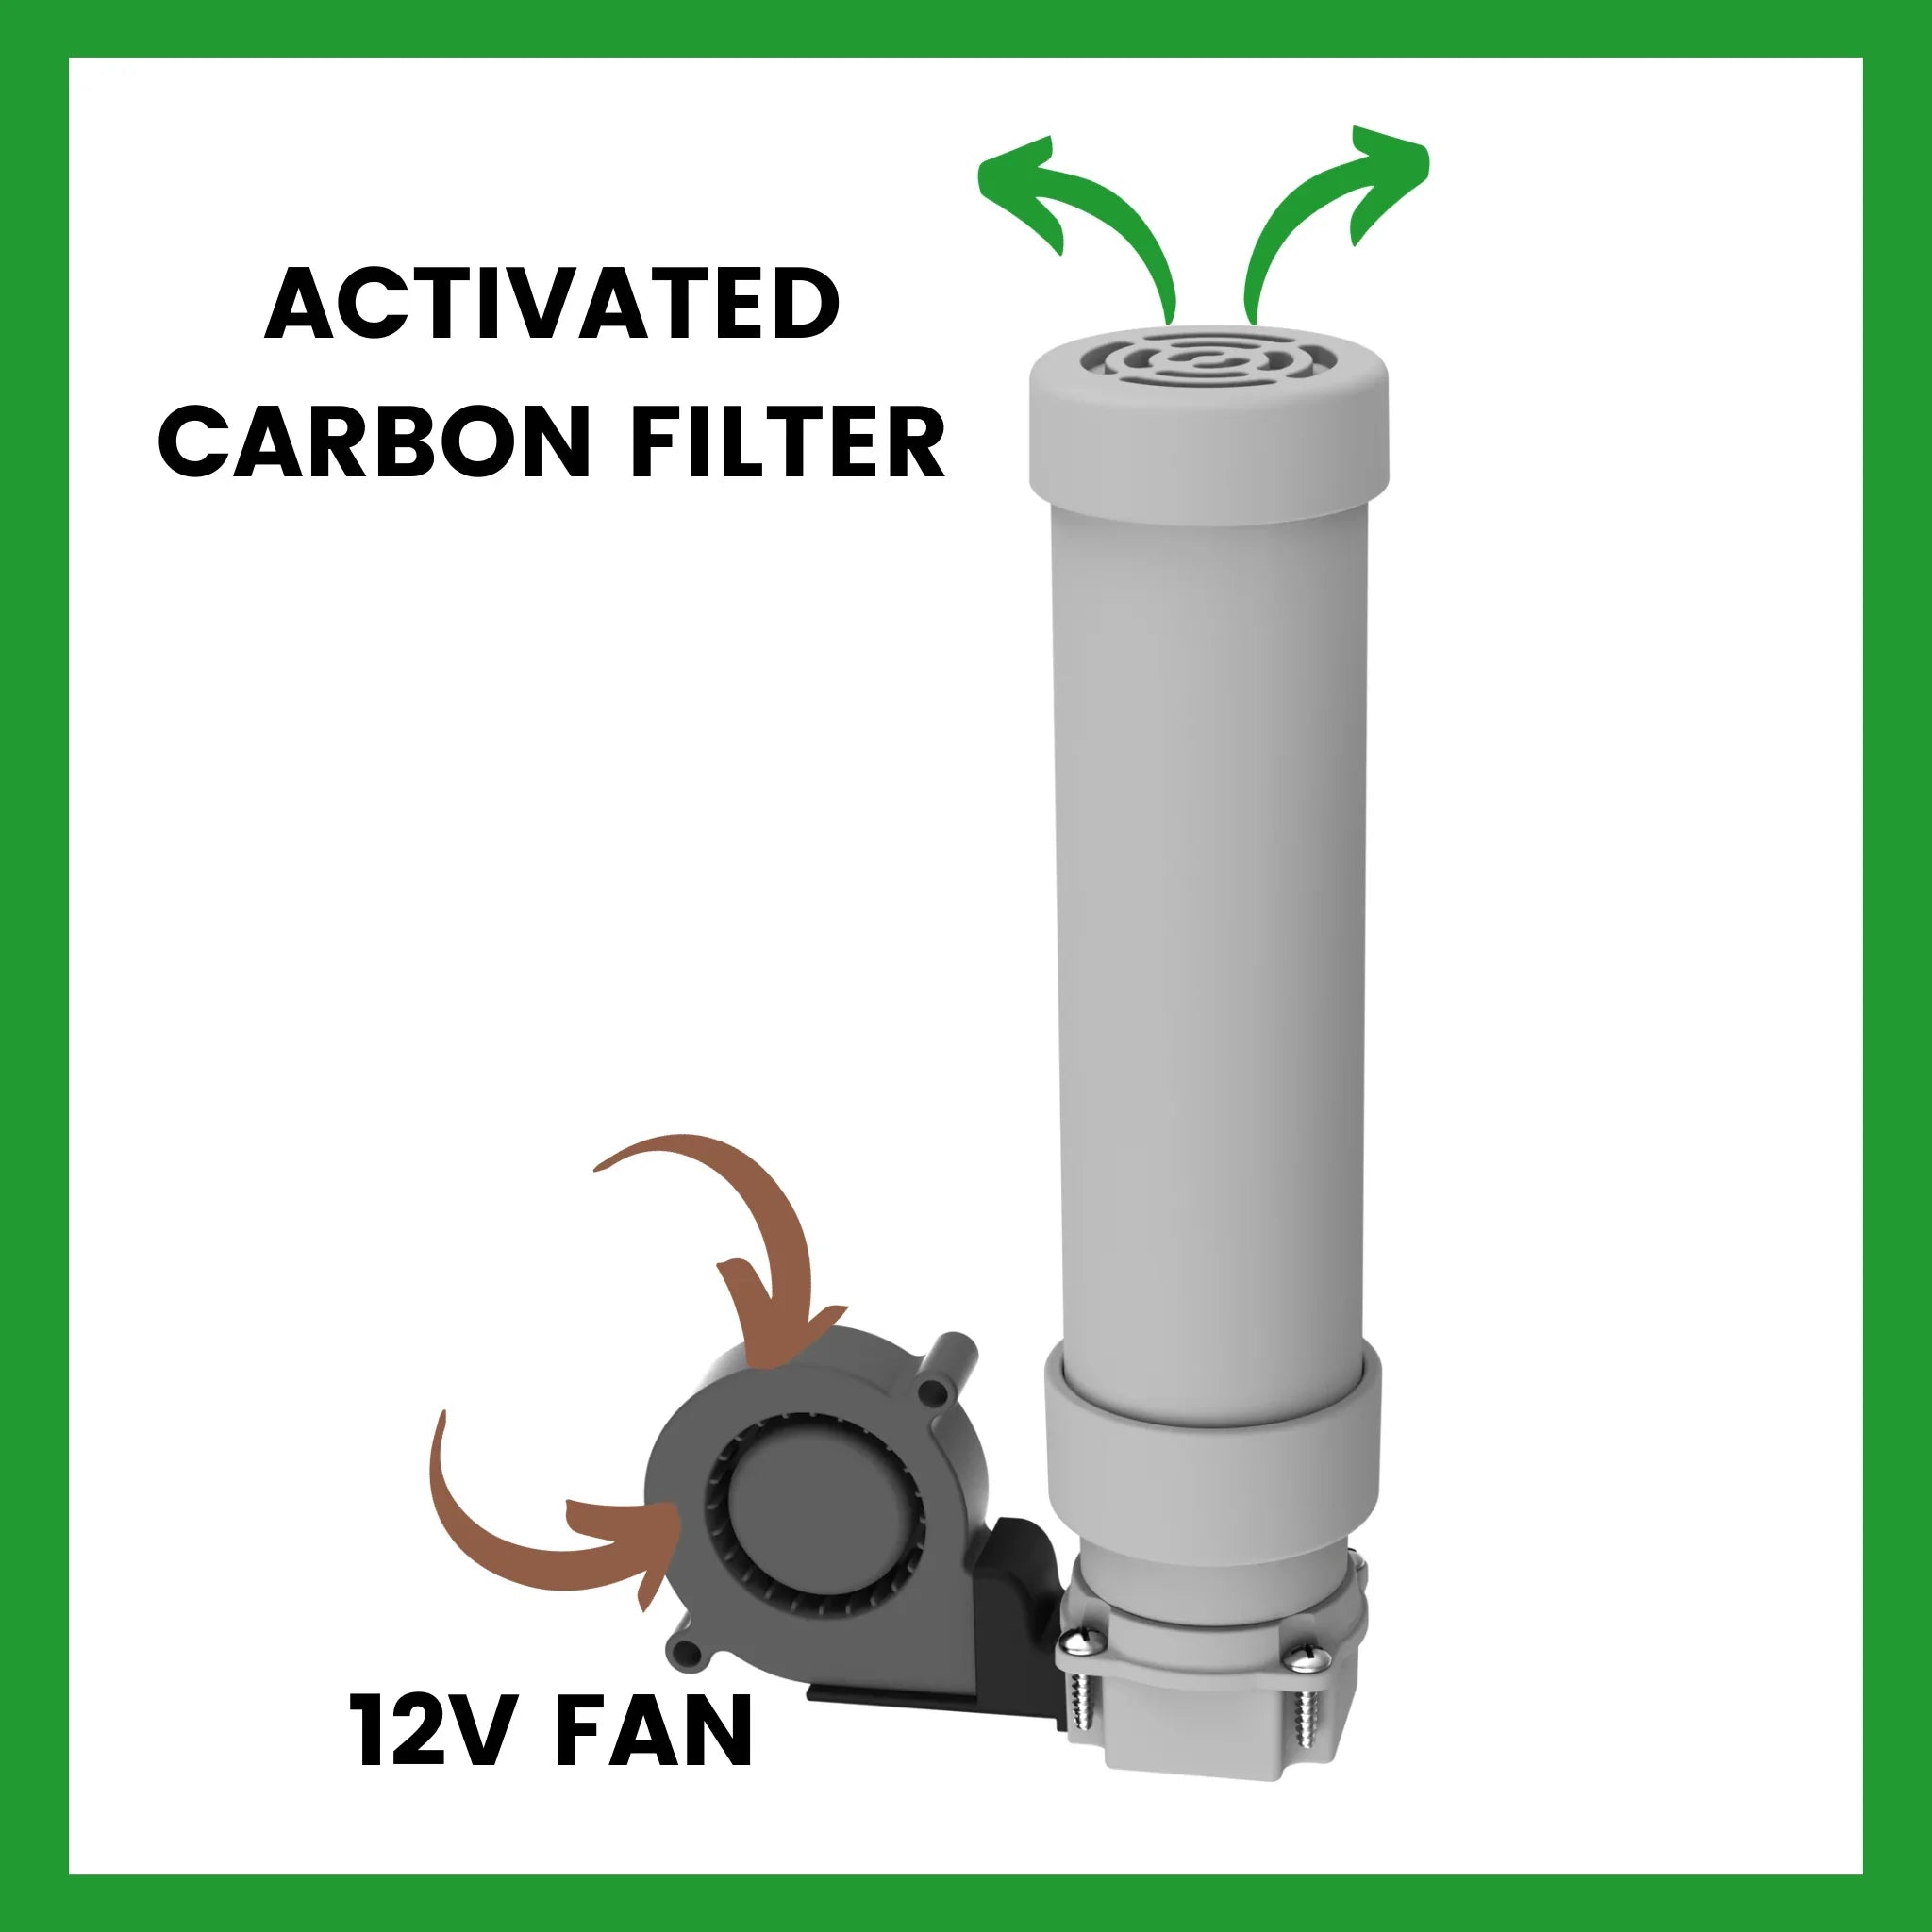
- 12V Fan with Reusable Carbon Filter
- Rehydration Bag
- Urine Bottle Cap
- Vent Plug
- Fly Screen
- 12V Power Cord with DC jack - to be wired into your power source
- Googly Eye Stickers

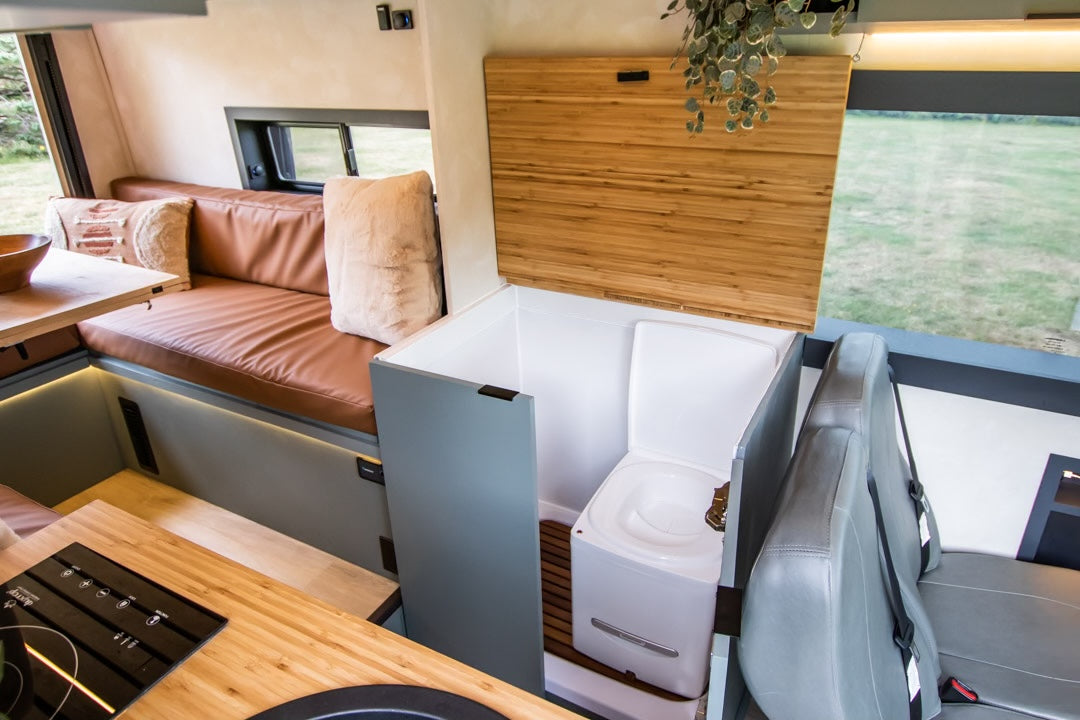
Perfect for Long Trips & Full-Time Off-Grid Living
The Cuddy Composting Toilet is designed for those who spend extended time off the grid, offering a high-performance, self-contained toilet solution that reduces the frequency of emptying.
With advanced features like a built-in agitator, fan, and air filter system, it makes waste management simple and effective. Cuddy separates liquids from solids to minimize odors, dries out waste to reduce volume, doesn't need water to function, and reduces storage space required, making it an ideal choice for long-term use.
HOW TO SET UP YOUR CUDDY
Viewing
Viewing


Best For
Full-time off-grid living
Lightweight, temporary setups
Plug-and-play, no composting
Composting
Yes (with agitator)
Yes (bag-based)
No (bag-sealing + disposal)
Power Needed
12V fan + 9V Battery - LED urine level indicator
9V Battery - LED urine level indicator
Rechargeable Li-battery
Odor Control
Excellent (carbon filter & fan + liquids diverted)
Very good (liquid diversion, no fan)
Excellent (sealed bag, liquids diverted)
Urine Diversion
✔
✔
✔
Emptying Frequency
Solids: 2–3 weeks
Liquids: 2–3 days
Solids: 1–2 weeks
Liquids: 2–3 days
~50 flushes per cartridge, bags disposed as needed
Venting Option
Yes
Yes
Yes
Cuddy FAQs
-
Anywhere you like!
Cuddy is perfect for vans, campervans, RVs, Tiny Homes, off-grid cabins, boats and more.
Its size, shape and portability make it suitable for anywhere you need to poop.
Check out some example toilet use cases for Cuddy and Cuddy Lite.
-
Cuddy's internal fan runs off of 12V, and includes the parts to be hard-wired via a 5.5 x 2.1mm plug, or you can plug it into the mains with an adapter. If you want to move Cuddy around, that's easy too. You can get a 12V DC port plug merit plug adapter, or a USB to 12V Cable with a 5.5 x 2.1mm plug. Cuddy can go just about anywhere and is very efficient, drawing less than 0.3 amps.
It is ok if Cuddy is not connected to power all the time.
Cuddy does not need to be connected to power while in storage. For the "pee full" indicator, Cuddy uses a 9V battery (not included).
Watch Cable Options for my Cuddy for more information about Cuddy’s power requirements.
-
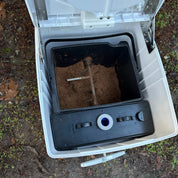
A compost medium like coconut coir is our favorite. Add the medium the solids bin covering the bottom of Cuddy's agitator arms, and off you “go”!
Learn more about different mediums to use in composting toilets.
-
No, composting toilets do not smell when used properly. They will not stink out your van, boat, tiny home, camper, or cabin.
The compost material looks and smells earthy—like a forest floor. When emptying the toilet, there is no unpleasant odor, unless you’re one of those rare folks that don’t like forest floors.

